Preparing To Be Unprepared

With it being peak triathlon season we have a ton of clients that keep asking the same question, “Why are my pool times so much faster than my open water times?” To start, there is no “right” answer, and the exact reasoning varies from person to person. But that being said, there are a few factors that you have zero control over and that affect everyone - even the most experienced swimmers - that I wanted to go over. 

The most important thing to always keep in mind is that you can never be 100% prepared for an open water swim. Should I say that again? I think I should. You can NEVER be 100% prepared for an open swim. You just can’t. It’s literally impossible to prepare for all of the unknowns that go into an open water swimming environment. The preparation you can do? Prepare to be unprepared.

SwimBox%2BSwimming%2BLessons%2BSwim%2BCoach%2BSwimBox%2BFairfax%2BSwimBox%2BSwim%2BLessons%2BArlington%2BSwimBox%2BSterling%2BSwim%2BLessons%2BLearn%2Bto%2BSwim%2BSwimBox

Conditions of the water will remain unknown until you show up and start to swim. Just because the water temperature was 76 at this time last year doesn’t mean it will be the same this year. You can read the reports on the chop/current until the minute your toes touch the water and they still might not be accurate. The number of participants fluctuates from race to race, and you can never be sure they’ll be competing at the times you may or may not have looked up online (don’t act like you don’t know what I’m talking about, I know you snoop).

Practicing drills and training to up your endurance for these races are great ways to prepare yourself physically. I’m not saying to stop training or stop working on fixing the problem areas in your stroke, because those are things you CAN control. I’m saying no matter how prepared you are when you swim in the pool, you can never go into an open water race knowing exactly what’s going to happen.

There are countless factors that you can’t control, but that’s okay! You’ve put in the time, the sweat, the effort, and so many more things into your training to physically prepare as best you can. But all of that being said, you simply can’t prepare for the unknowns. Getting over this mentally can be very hard, but will definitely help give you peace of mind come race time.

SwimBox Swimming Lessons Swim Coach SwimBox Fairfax SwimBox Swim Lessons Arlington SwimBox Sterling Swim Lessons Learn to Swim SwimBox

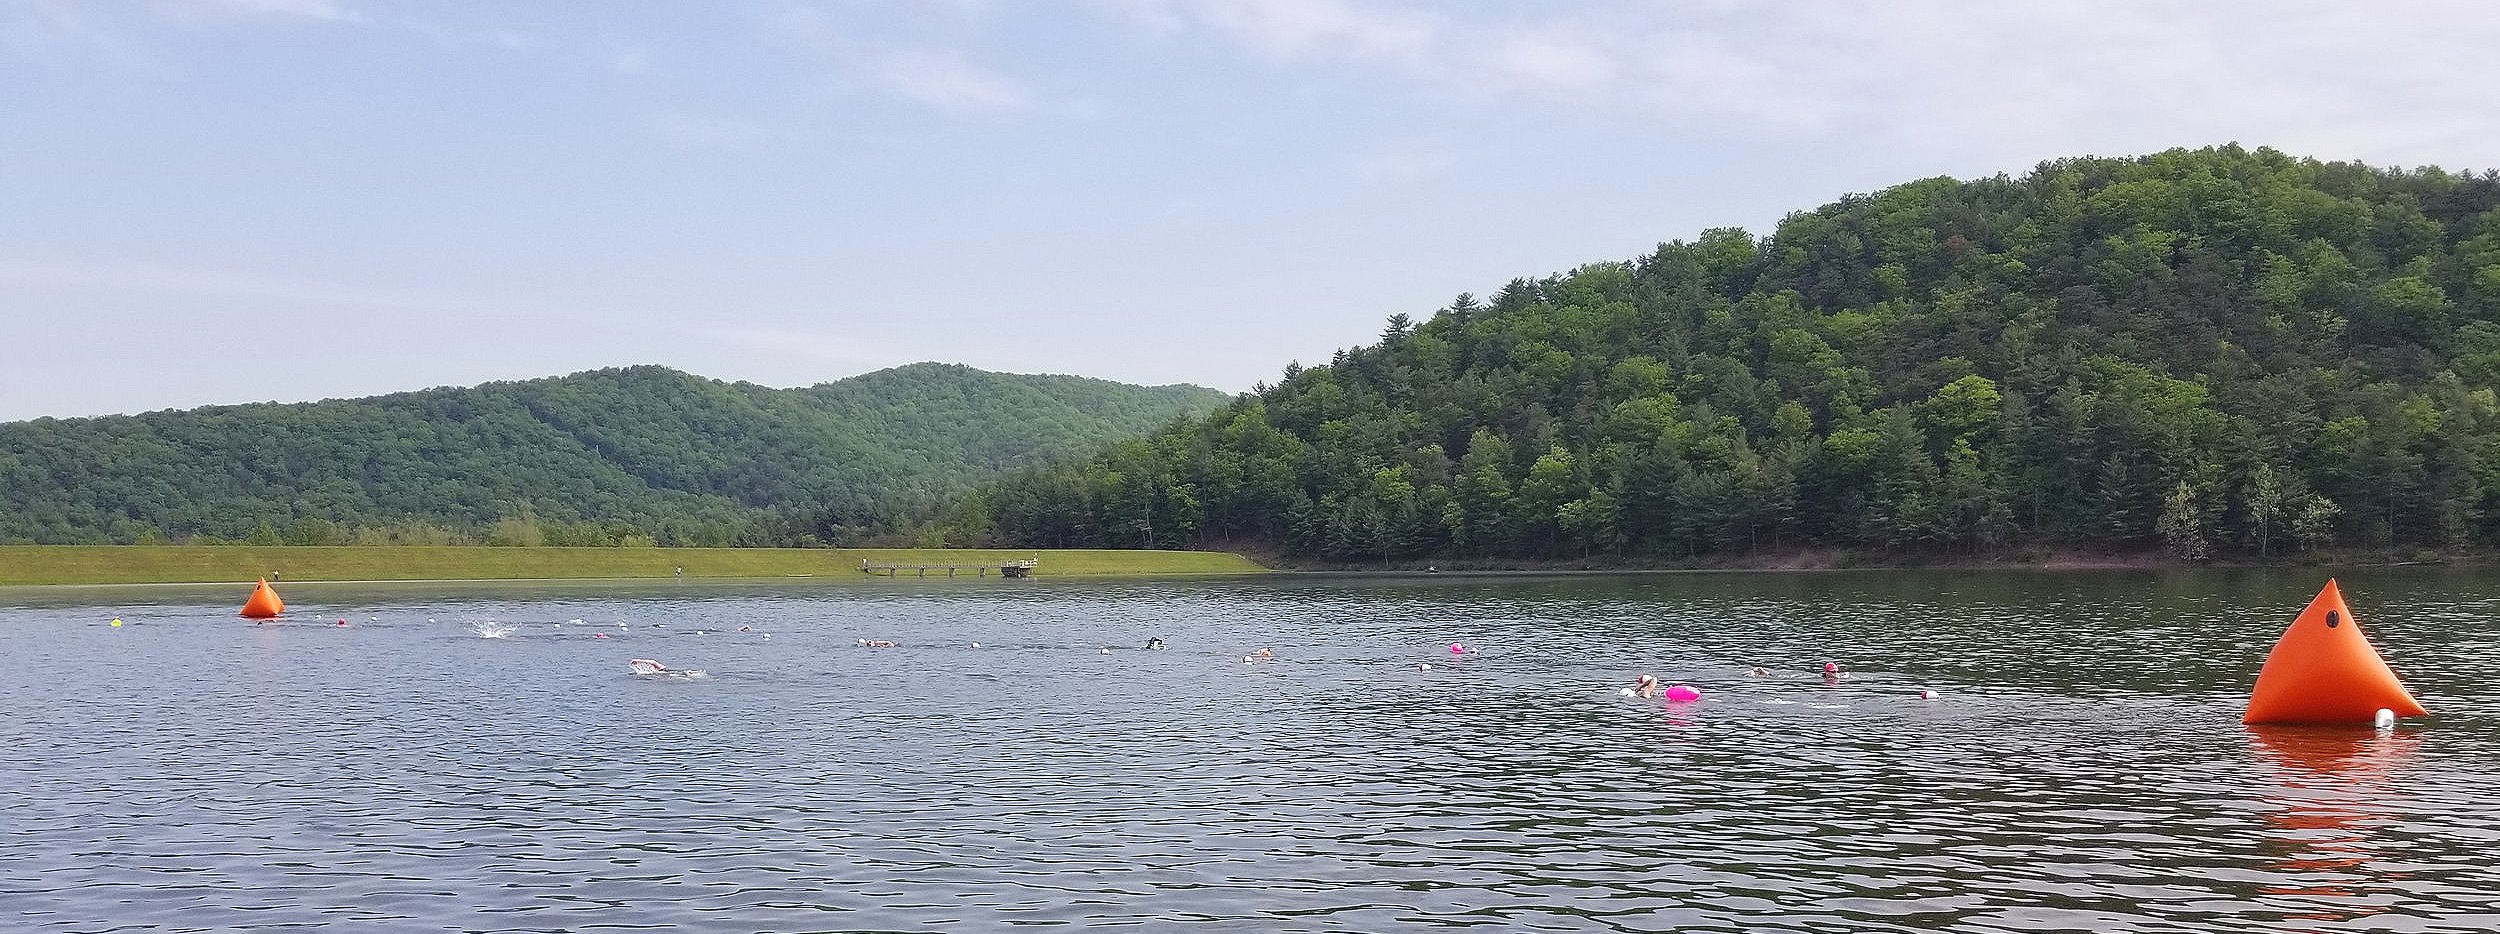
What you can do is be aware that there are always going to be unforeseen conditions. Storms that come out of nowhere, crazy water temperatures, and huge packs of people you can’t break away from during the swim. Keeping that in mind, and reminding yourself of it as you approach your big race, will be a big help mentally and keep you from being shocked if something unplanned happens come race day. All of these conditions cause your swim to change, and usually not in a good way. 

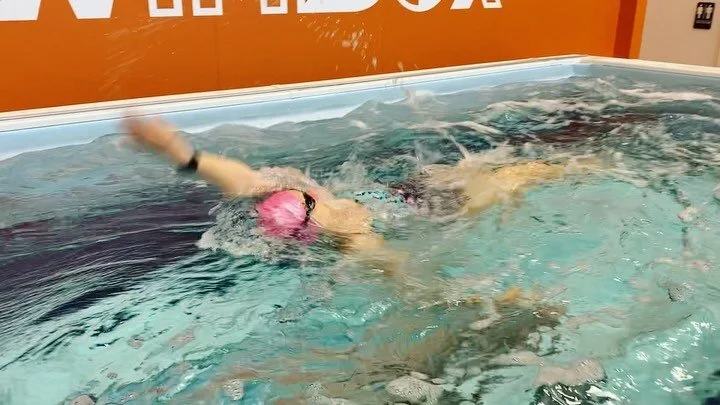
Even if you have perfect conditions, and everything goes to plan with how you prepared, your times still might be off. Why? More often than not a swimmer will unknowingly slow their cadence down when they hit the open water. There are plenty of underlying and subconscious fears competitors have when they get to the open water that they aren’t even aware of, which causes your body to slow down so you can steady your breath, keep your heart rate down, and avoid a panic attack. This is your body’s way of trying to protect you from the unknown. It’s hard to see that when it’s happening since you’re not in a controlled environment, but it’s something you can keep at the front of your mind during your next race. Remember to keep your cadence up and focus on competing, not just making it through, in the swim. 

That’s another factor to keep in mind: how lots of people - whether they know it or not - just do enough to make it through the swim, and “save up” for the bike and the run. That’s the easiest answer as to why your pool times don’t match up with your open water times. I know it’s a long race, and I’m sure people are worried about using up their energy or tiring themselves out on the first leg. But at the end of the day all three legs of a triathlon are a race, not just the bike and the run. So don’t forget to start competing when you hit the water, not when you leave it.

SwimBox Swimming Lessons Swim Coach SwimBox Fairfax SwimBox Swim Lessons Arlington SwimBox Sterling Swim Lessons Learn to Swim SwimBox

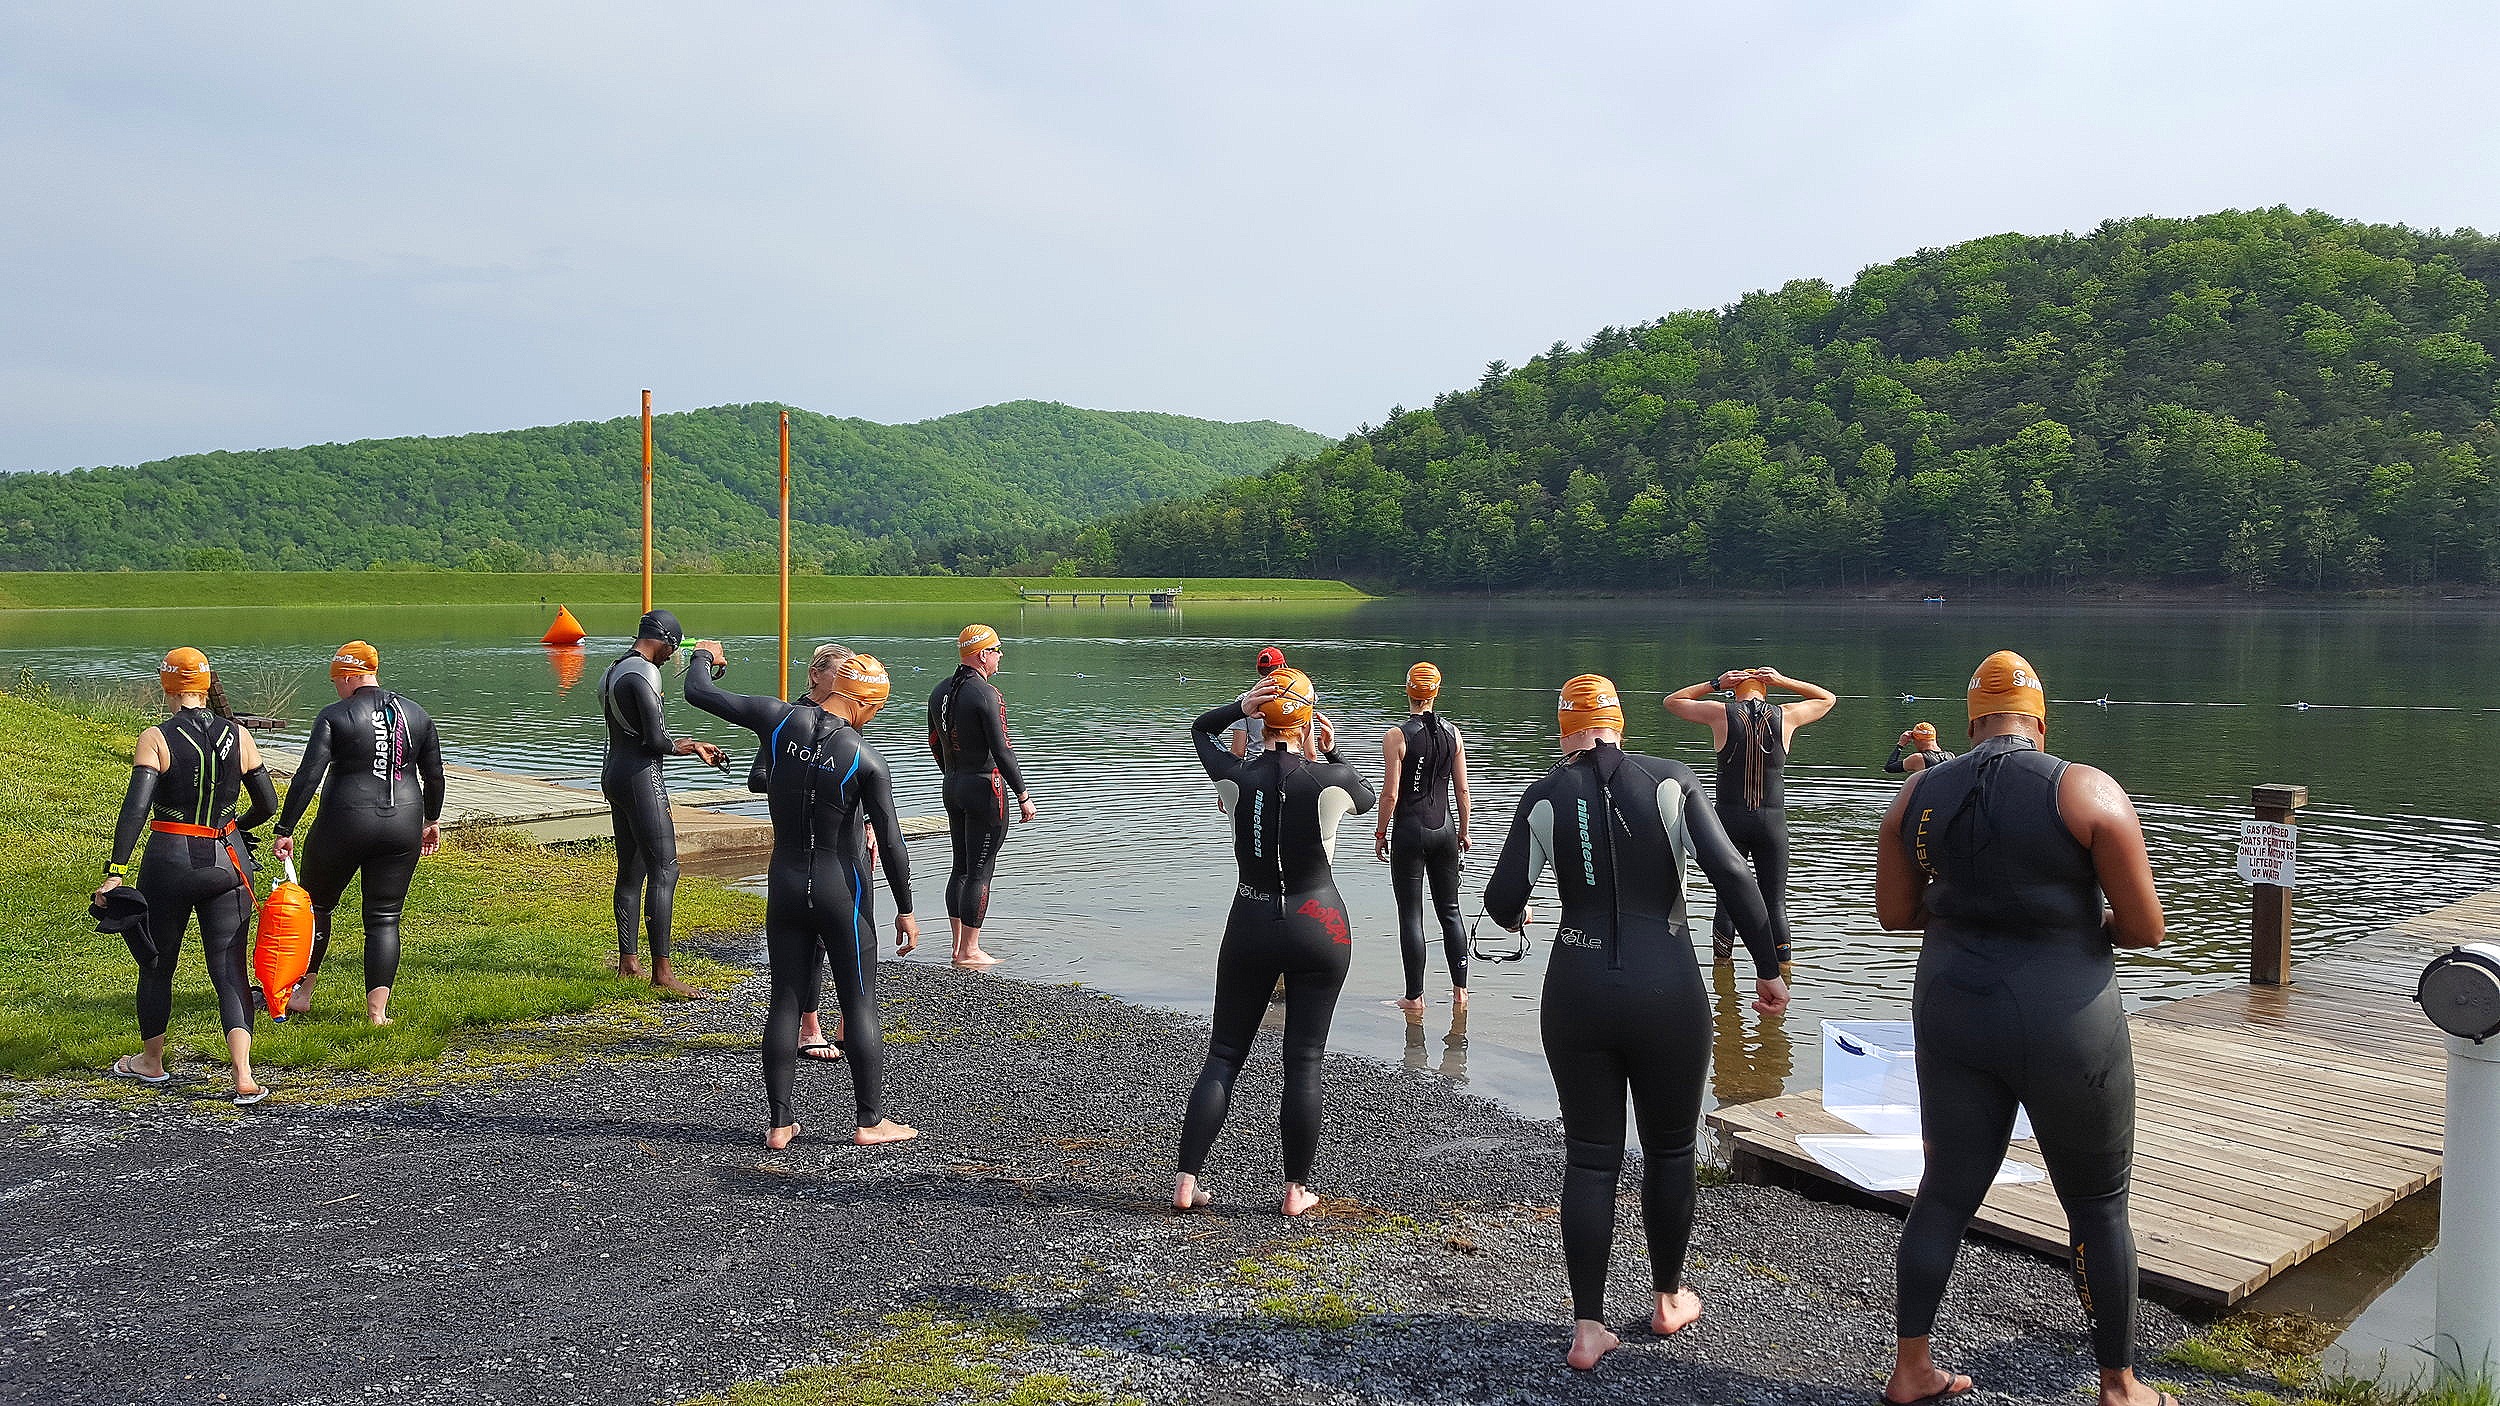
The last thing that a lot of people during an open water swim is stop. You’re probably reading that thinking, “there’s no way I stop during a swim, what is she talking about.”  But stopping in the water doesn’t have to mean standing up or grabbing a kayak and completely pausing your progress. If you’re not used to a crowded swim, you’re probably spending a good chunk of time getting used to being touched by other swimmers. And the first few times it happens your body is going to react automatically by halting your movements and freezing up a bit. Which takes time to get back into your rhythm afterwards.

Another way people stop is when they’re sighting. This one is huge because most people - especially people new to open water - don’t realize they’re doing it, but will pick up their head far too much and keep it up far too long to completely focus on what’s in front of them. When this happens your lower body sinks, you lose your momentum, and you can even go from being vertical to horizontal if you spend long enough in this position. The time and energy it takes to get back into the proper position and get moving again might not seem like much when you’re in the act, but it eats up your swim time and adds up with each time this happens. 

Looking at these factors one at a time might not seem like they could do that much damage, but put them all together and it should start to make sense how your usual 1:27/per 100 pace in the pool comes out as 1:59/per 100 pace in the open water. 

Mental preparation is just as important as your physical training. So before your next race take some time to consider all of the things I talked about and keep reminding yourself of them leading up to the race. As one control freak to another, I know it’s hard to not have control over everything, but at least this gives you some mental readiness for what may, or may not, happen. 

Triangles Are Perfect For the Water

One of the reasons SwimBox was started was to help prevent injury from poor/improper technique. My husband, Dominic, had surgery on both of his shoulders in college due to swimming with improper technique. Because of these surgeries, he has limited range of motion and his stroke will never be the same. All of this could have been prevented by correcting his technique he was using during the catch and propulsive phase of his freestyle. So what does that mean for you, special reader you? We’re going to make sure YOU’RE swimming properly to prevent you from having this exact same surgery down the road.

Okay, Lissa, but what is this proper technique you speak so eloquently of? (stahhp it, you’re too good to me). And how can I work to achieve it? I’m so glad you asked! Today we’re going to focus on Triangle Drill and how it will help you make sure your technique is safe and correct. Excited? That’s what I thought.

SwimBox Swim Lessons Sterling SwimBox Swimming Lessons Fairfax SwimBox Arlington Swimming Lessons SwimBox

The purpose of Triangle Drill is to fine tune the movements your body is making during your catch and propulsive phase through to the finish. The most important thing to focus on during this drill is the movement of your SHOULD BLADES. Why? because in swimming your shoulder blades are an extension of your arms. They’re actually the base of your arms, and making sure they move properly during your freestyle is one of the key components to preventing injury and the inevitable surgeries that will follow.

Simply put, your want your shoulder blade to glide upwards toward your ear during your recovery, and downwards towards your back pocket (let’s pretend you’re swimming in jeans for a second) during your catch, propulsive phase, and finish. This movement of your shoulder blade prevents you from putting the force of these movements into your shoulder joint, which is when problems occur.

SwimBox Swim Lessons Sterling SwimBox Swimming Lessons Fairfax SwimBox Arlington Swimming Lessons SwimBox

Start this drill by swimming on your stomach kicking gently, just enough to keep you at the surface. Next, bring your arms in front of your body about shoulder width apart, about 4-6 inches below the surface of the water, and slowly bring them together to form a triangle with your thumbs and pointer fingers. Take a look at the above images to see how you want to set your arms/hands up to being this section of the drill.

SwimBox Swim Lessons Sterling SwimBox Swimming Lessons Fairfax SwimBox Arlington Swimming Lessons SwimBox

Hold this position and mentally prepare yourself to focus on your shoulder blade movement - sliding down toward your (imaginary) back pocket - through your propulsive phase and your finish. It might take you some time to make this movement happen easily, but that’s okay! These changes take time and repetition, and this drill is meant to be moved through very slowly. Take your time!

The last thing to keep in mind? During your finish, make sure your hands feather out away from your body in order to fully maintain your paddle for as long as possible. Keep in mind, your hands will be pulled into your body from the force of your rotation while swimming, so you’ll need to really focus on this movement when first implementing it.

Make sure you watch our instructional drill video to see everything in action before trying it out in the pool!

Building Strength Outside of the Water

Building strength as a swimmer is a tough one. You would think that swimming 1.5-3 hours a day, six days a week, for months on end, would help make you stronger. But no, it doesn’t. Yes, it definitely helps you build and maintain your level of endurance/aerobic capacity, but help you gain strength it does not (crossing my fingers there’s at least one Star Wars fan out there). 

So how do you go about building up your strength to benefit your swims? Dryland. Dryland, for all of you non-I’ve been swimming since I was six years old swimmers out there, is just a term that some swim coach came up with at some point in time that refers to exercises/workouts on land. Things like plyometrics, static holds, body weight exercises, and weight lifting have all been referred to as dryland by my coaches throughout the years.

SwimBox Swim Lessons Sterling SwimBox Arlington SwimBox Swim Lessons Fairfax Swim Coach Swimming Lessons Sterling

I find a good mix of pretty much any kind of those things you like will be beneficial in the pool. That being said, this year I’ve really fallen in love with using the Vasa Trainer SwimErg to help me strengthen my arms to get a more efficient and powerful propulsive phase in the water. If you don’t have a SwimErg, any rack machine with a cable pulldown at your local gym comes in at a close second. You’ll want to fix the cable pull down to be set as high up as it allows, stand below it, and practice your catch and propulsive phase. Start with 5 lbs just to get the hang of the movement, and work your way up from there. While doing this exercise it’s extremely important to make sure you’re allowing your shoulder blade to glide up and down properly to avoid injuring your shoulder joint. You want to make sure you shoulder blade is gliding upwards as you set yourself up to catch, and gliding downwards as you set your catch and pull down.

SwimBox Swim Lessons Sterling SwimBox Arlington SwimBox Swim Lessons Fairfax Swim Coach Swimming Lessons Sterling

One way to help keep this motion from putting the power into your shoulder joint? Keep your elbow from dropping in to your side. It’s the same way I’m always nagging on you about keeping your elbow forward and up in the water to allow you to create your paddle, just a different way of thinking about it since you’re vertical for this exercise.

Keep in mind, you’re going to be moving less weight in the water because of buoyancy. This is why dryland is SO IMPORTANT to gaining strength. You can never get as strong in the the water as you can on land!

The Hip Bone's Connected to the...Arm Bone?

One of my mom’s favorite things to say about someone’s swimming has always been, “it’s so graceful and effortless.” That was her highest praise in terms of the swimming world, and still something I notice in our clients when they really start to get the connected movements of the strokes down. Seem like an odd compliment? Maybe, but what is a common misconception in swimming is that it’s made up of a ton of small pieces that aren’t really connected to each other. However, that’s just not the case. Each movement you make in the water is connected to another movement. And those movements rely on each other to be performed properly. So if one of them is done incorrectly, it negatively affects the other, causing problems with even more movements. This is why the graceful and effortless swimmers are usually the faster ones too.

Swimming is sort of like a house of cards. Except that your body is the cards and the sturdy table you’re building on just so happens to be a large body of water that has a mind of its own. Easy, right? No way could it be hard to get things right in those environments…

Unfortunately, easy is the last word I would use to describe it. Especially when it comes to writing about and describing movements in words on paper. But to keep it from getting too down in the weeds and potentially mind numbing (yes, I said it, I know this stuff can cause your eyes to glaze over as you start daydreaming about that candy bar in your desk drawer you have marked for your afternoon snack), I’m only going to touch on a couple examples.

Swimming requires a ton of sequencing of muscles firing in order for full efficiency to be achieved. It’s not as easy as saying, “keep your core engaged and you’ll be okay.” The core needs to constantly be reacting to balance changes as you move through the water.

How is that achieved? Through cross body connections.

One of the cues that our clients have been focusing on lately is that as they pull with their right arm, and their right hip is rotating up towards the surface, the LEFT obliques are activated to provide stability and balance. Thinking about this connection is next to impossible during a race, but it’s perfect to focus on when doing drill work during practices. Let’s take One-Arm Freestyle with your Inactive Arm Down as an example. This cue is perfect to be mindful of during this drill, as you’ll actually be able to focus and feel the connection I’m describing. Thinking about certain cues, like this one, during drill work helps you better mentally process the movements and feelings you’re looking for during your swims.

Another example of a cross body connection is your rotation. In swimming, the pulling arm works as an anchor point, which is why it’s SO important to set an early catch. Which is difficult! I’m still working on this to this day (maybe another 30 years of swimming and I’ll finally get the hang of it). But it’s also incredibly important to know the reasoning behind your movements.

As your anchor is set and starts to push back against the water, your opposite hips starts to rotate downward. This connection is fairly easy to find when you aren’t breathing, but during the breath it becomes a bit harder. If you can feel this connection without breathing, it helps to learn good timing of the breath. Once that connection is learned, the inhale of the breath occurs, then as the head is rotating back into the water, the anchor starts to press against the water and then your hip should rotate downward. Say that five times fast! ….No really, I’ll wait.

See what I mean about mind numbing? Hopefully I avoided that, but I know this stuff can be tough to read. I find I have to rewrite these technique based posts 3-4 times to make sure what I’m writing is actually making sense, and even still it’s hard for me to understand sometimes (just don’t tell my husband).

Skill Based In-Pool Open Water Prep Workout

I know not everyone is blessed with direct access to train in the open water, especially us over here in the DC area. Unless you spent the past 3-4 months prepping your man made backyard lake (I’m sure there’s at least one of you out there…), you’re probably going to have to do most of your open water preparation in the comfort of your local pool. But, never fear, we’ve got you covered like glaze on a donut. A sour cream cake donut to be exact, mmm. Sorry, got lost for a minute there…ahem, anyway, onto the workout.

Even though you’re not in an open water setting, there are still plenty of things you can work on to help you get ready for how you’ll be swimming the next time you have a triathlon or open water race. It’s best to practice these specific skills that you’ll most utilize when you don’t have lane lines, the bottom of the pool, walls, or the black line to help you out.

In this workout you should turn or flip at the "T," not the wall. This will not only help you prep for the lack of walls and the help they give you, but you’re going to look super cool doing it.

200 warm up - only a 200 warm up to be prepared for race day when you don't get a long warm up

4x50 - breathing to the right side (0:10 rest)

4x50 - breathing to the left side (0:10 rest)

4x50 - alligator eyes (0:10 rest)

200 - 50 sighting every 3 to 6 strokes, 100 freestyle, 50 sighting every 3 to 6 strokes- find the pattern that you like (0:20 rest)

400 - 100 sighting every 3 to 6 strokes 200 freestyle, 100 sighting every 3 to 6 strokes - don't forget to turn at the "T"! (0:20 rest)

800 -  200 sighting every 3 to 6 strokes, 400 freestyle, 200 sighting every 3 to 6 strokes (0:20 rest)

Easy 100 warm down

This simple skill based prep workout is great to help you focus on what you’ll need to be doing when you get back in the open water. If you need more practice sighting and feel comfortable breathing to both sides, feel free to switch up the 50s to the drill that needs the most focus.

Can't Breathe with Water in Your Mouth? Think Again

More often than not, one of the most commonly used reasons for why people don’t want to swim in the open water - or swim at all for that matter - is the fear of getting water splashed in your mouth and not being able to breathe. Which, when you write it down, sounds like a pretty legitimate conclusion. If water gets splashed in my mouth, there’s no way I’ll be able to breathe…right? I’m sorry to burst your bubble (HA, swimming humor, sorry, had to do it), but no, not right. Breathing with water in your mouth is shockingly easy to do physically. Mentally is another side of the coin, but we’ll get to that in a bit.

Now, how am I sure you can breathe with water in your mouth? And how can you be sure I’m not over here just blowing smoke (or bubbles, if you can stand some more terrible humor)? This simple Breathing with Water in Your Mouth Trick allows you to see how your body will react to having water in your mouth and trying to breathe at the same time.

This trick is only made up of three steps and the word “simple” doesn’t really begin to cover how easy it is. Step 1: get a cup and put a small amount of water in it. Once you have your water, take a SMALL sip - DO NOT take a large gulp of water! I promise you if you take a giant gulp of water and fill your mouth completely, you will not be able to breathe very well.

Step 2: open your mouth and take a slight inhale. This is why you want to make sure you don’t take in a huge gulp of water in Step 1, as when you open your mouth to take your small inhale, you need to make sure there’s room in your mouth for the air to get in and allow you to breathe. I know you won’t have control over this at a public pool or a during a race and get a huge amount of water splashed in your mouth, but practicing this way prepares you to handle that situation if and when it occurs.

Step 3: exhale through your nose. Repeat steps 2-3 a few times and make sure to stay calm while you’re doing so. Taking small inhales and exhales allows you to keep your heartrate down and stay as calm as possible while you practice getting used to this inhibited way of breathing.

That’s it! You did it! This trick is super simple, easy, and quick, and is a great way to help you acclimate to the unexpected.

The 3 Keys to A Successful Open Water Season Prep

The time is here! Slightly warmer temperatures, the sun is out earlier, and the smell of wetsuits and triathlon kits are constantly wafting through the air. You don’t smell it? Take a deep breath, I’ll hold on for a second. Still nothing? Okay, maybe it’s just me, but I swear that smell of neoprene is everywhere right now. Which means it’s finally open water and triathlon season again! If you haven’t been prepping all winter long (unless you’re like me and count eating Christmas cookies as prep) don’t worry, we’re going to go over the 3 key things to focus on to help you make this season your best season yet.

SwimBox Swim Lessons SwimBox Sterling SwimBox Herndon Swimming Lessons SwimBox Swim Coach SwimBox Falls Church

First up - and this should be pretty obvious, but I won’t take any points away if you hadn’t thought of this - SIGHTING. Sighting is the main thing that can make or break your open water swim, even if you’re lucky enough to call yourself Michael Phelps (or Dara Torres, Amy Thompson, Lenny Krazelburg, Ian Crocker, you take your pick) and nothing seems to get your swimming down. If you don’t practice sighting and getting your body used to making this movement, you’ll most likely find yourself in the open water not sighting as frequently as you need to, or sighting improperly, and adding seconds to your time, and possibly injuring your neck and back because of it. Worst case scenario you barely sight at all and swim completely off course, adding minutes to your time and wasting a ton of your energy. The best drill to use to work on your sighting is Alligator Eyes. After you feel comfortable with that drill, move onto practicing a Rolling Sight. A rolling sight is how you’re going to be want to sight during your races, so it’s incredibly important to practice the movement of this in the water before jumping in any lakes or oceans. Make sure to watch both of these instructional videos to see how to do them on your own.

SwimBox Swim Lessons SwimBox Sterling SwimBox Herndon Swimming Lessons SwimBox Swim Coach SwimBox Falls Church

The second thing to focus on is bi-lateral breathing. Now I know this might seem weird, since so many coaches nowadays are 50/50 on either bi-lateral breathing or one side breathing, but trust me here. Fine tuning your breathing to BOTH sides gives you the ability to be able to adapt to your surroundings once you’re in the open water. Sun too bright to breathe to the right and still see? Breathe to the left. Huge waves coming at you from the left, obstructing your sight and constantly splashing water into your mouth? Breathe to the right. Starting to make sense now? Being able to breathe to both sides doesn’t mean you HAVE to breathe to both sides during a race, or all the time at practice for that matter, but it gives you another weapon to keep in your arsenal if you need to use it on race day. We prefer people to practice bi-lateral breathing either by length of the pool or by 50s, NOT by breathing every 3 strokes (which causes you to switch sides for each breath). Breathing every 3 strokes causes you to constantly change your movement patterns and your balance, which changes the consistency of your stroke and can make the learning process more difficult.

Last, but definitely not least (but probably most boring unfortunately, at least to me), is pace work. Since you’re going to be on your own in the open water, without a pace clock or the ability to stop and look at your watch, you’re going to have to be able to rely on yourself to know if you’re keeping the right pace or not. Practicing pace work can be annoying, but helping your body understand the feeling it will have at certain speeds will allow you to know what your stroke and level of effort should feel like to make sure you’re keeping up with the pace you’re looking for and better help you reach your goal time. If you simply get in the water and go, keeping in mind not to sprint the whole swim (unless it’s a sprint tri or super short open water race), there’s no telling what pace you’ll go. You might get lucky a few times, but if you’re going to keep racing you need to know how different paces feel as you move through the water. The best move is to practice with a Tempo Trainer to find a pace you’re confident you can maintain during your open water race. Once you’ve found a comfortable pace using the tempo trainer, take it out and try to swim mimicking the pace you just found. It’s going to take some guess and check, but it’s all about finding a pace you can maintain and figuring out how that pace feels in the water. Here’s an example of what you’re looking for to try. Use your tempo trainer and swim a 200, make sure you get your time. After you get your time, take the tempo trainer out and swim a 50; try to match the pace you just swam your 200. If you go 4 minutes on the 200, you should come in at 1 minute on the 50. You can do many variations of this with longer distances as you get the hang of it, or you can just repeat this set in order to improve your pacing.

Our Favorite Training Tools: Fins

Last up in our series of our favorite training tools we use in our lessons that you can also use on your own: fins! I know what you’re thinking, “Lissa, everyone has fins, we all know how to use them, where are you going with this?” To which I say you’re exactly right. Fins are a very well known training tool, one that I’ve been using for over 2.5 decades at this point as a matter of fact, but that doesn’t mean they shouldn’t get the spotlight they deserve. Not to mention, I’m willing to bet I’ll write about at least one thing you hadn’t considered using fins for in this blog. And if I don’t? Well, I’m not sure...I’ll buy you a donut?

First and foremost, fins are most commonly used to build leg strength by simply wearing them during swim practice. Growing up I always wanted to use them before they would help me go faster, but little did my adolescent brain know that they wore me out much more quickly because they were forcing my legs to work a lot harder than I was used to.

SwimBox Thoughts SwimBox Swim Blog Swimming Lessons SwimBox Swim Coach SwimBox Adult Learn to Swim

The resistance you’re adding by putting on the fins is what helps you gain strength in your legs and improve your kick. Without fins, you’re only having to push back against the water with the back of your legs and feet. BUT when you add the fins, you now have to push back against the water with the back of your legs, feet, and the entire surface area of the fin. Since fins are (usually) rubber, the way they move in the water in unpredictable and changes with every kick you make. The added resistance and unpredictability of movement forces your legs to work much harder than normal, providing you with a great way to strengthen the exact muscles in your legs used for your kick.

SwimBox Swimming Lessons SwimBox Swim Coach SwimBox Adult Learn to Swim Lessons SwimBox Sterling SwimBox Herndon

Another way we use fins with our clients is to help take their legs out of the equation when we want to focus on one piece of their stroke at a time. Wearing the fins (or fin, when we’re talking about a monofin for butterfly) allows you to create momentum without putting forth much effort. This momentum provides you with stability in the water, allowing you to maintain your balance while staying focused on the task at hand. Which could be working on your hand entry, head position during your breath, proper timing of your hip rotation, etc. Whatever you’re working on, the use of fins allows you to not have to think about what your legs are doing and gives your brain that much more power to keep your thoughts - and your body - streamline (see what I did there? Man I crack myself up).