What’s an Aquathlon? And how did I end up being signed up for one?
SWIMBOX THOUGHTS
Before you read any more of today's blog, I want to let you know I'm 100% aware of how repetitive my posts about Katie's and Flaca's lessons are. And that's exactly how working on swimming should be, repetitive. As I've said before, swimming is a sport of centimeters, and every 100th of a second counts. So working on the minute details of your stroke and constantly reinforcing proper technique is exactly how you're going to make positive progress and help yourself to swim more efficiently. Yes, it can be boring at times, but you're always working at moving forwards. Especially with people who have been swimming for years and are set in their ways, changes take time.
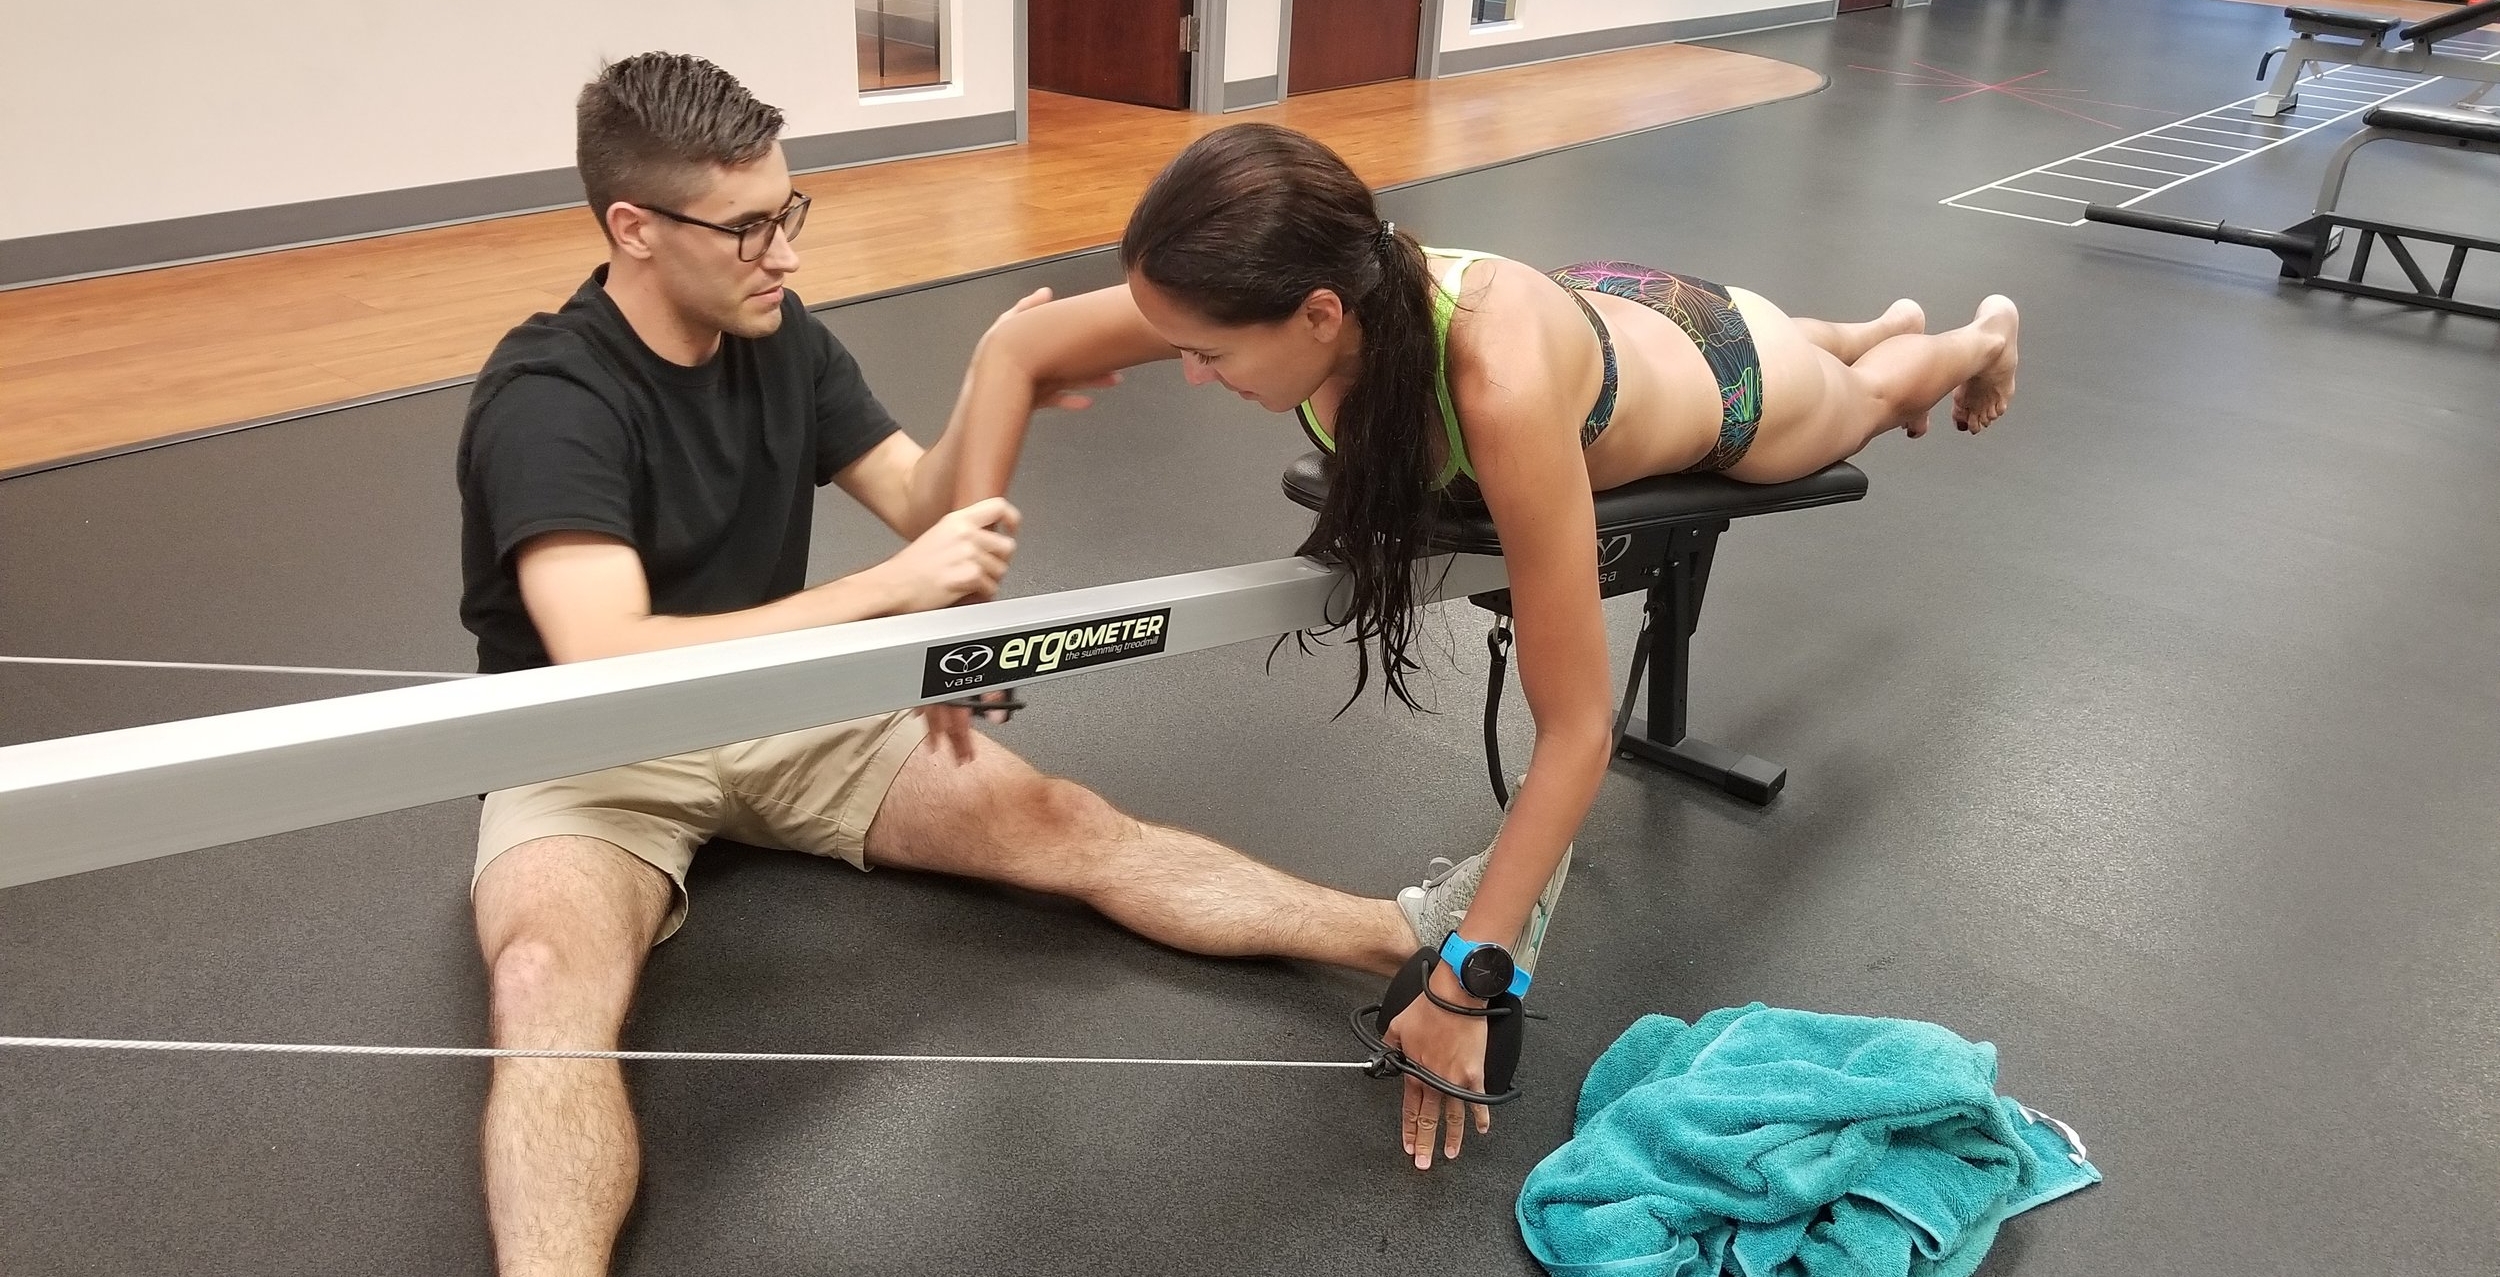
But anywayyyy, I wanted to start off my post about Katie's latest lesson with that little bit of background information so you don't think I'm just writing the same thing over and over again with different pictures. One thing Dan noticed during her recent lessons was that Katie's elbow was moving upwards as a result of her arm exiting the water too early. You want your elbow to stay on the same plane as your torso, not move higher or lower than that.
In case you missed last week's post, Katie's lesson focused on connecting the movement of the finish of her stroke into the recovery. You want to keep your palm facing backwards and make a "J" shaped movement from the finish of your stroke into your recovery in order to fully benefit from the propulsion you get from your catch and pull.
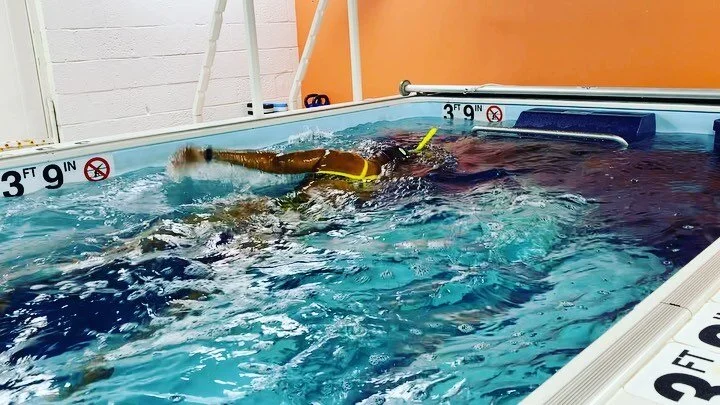
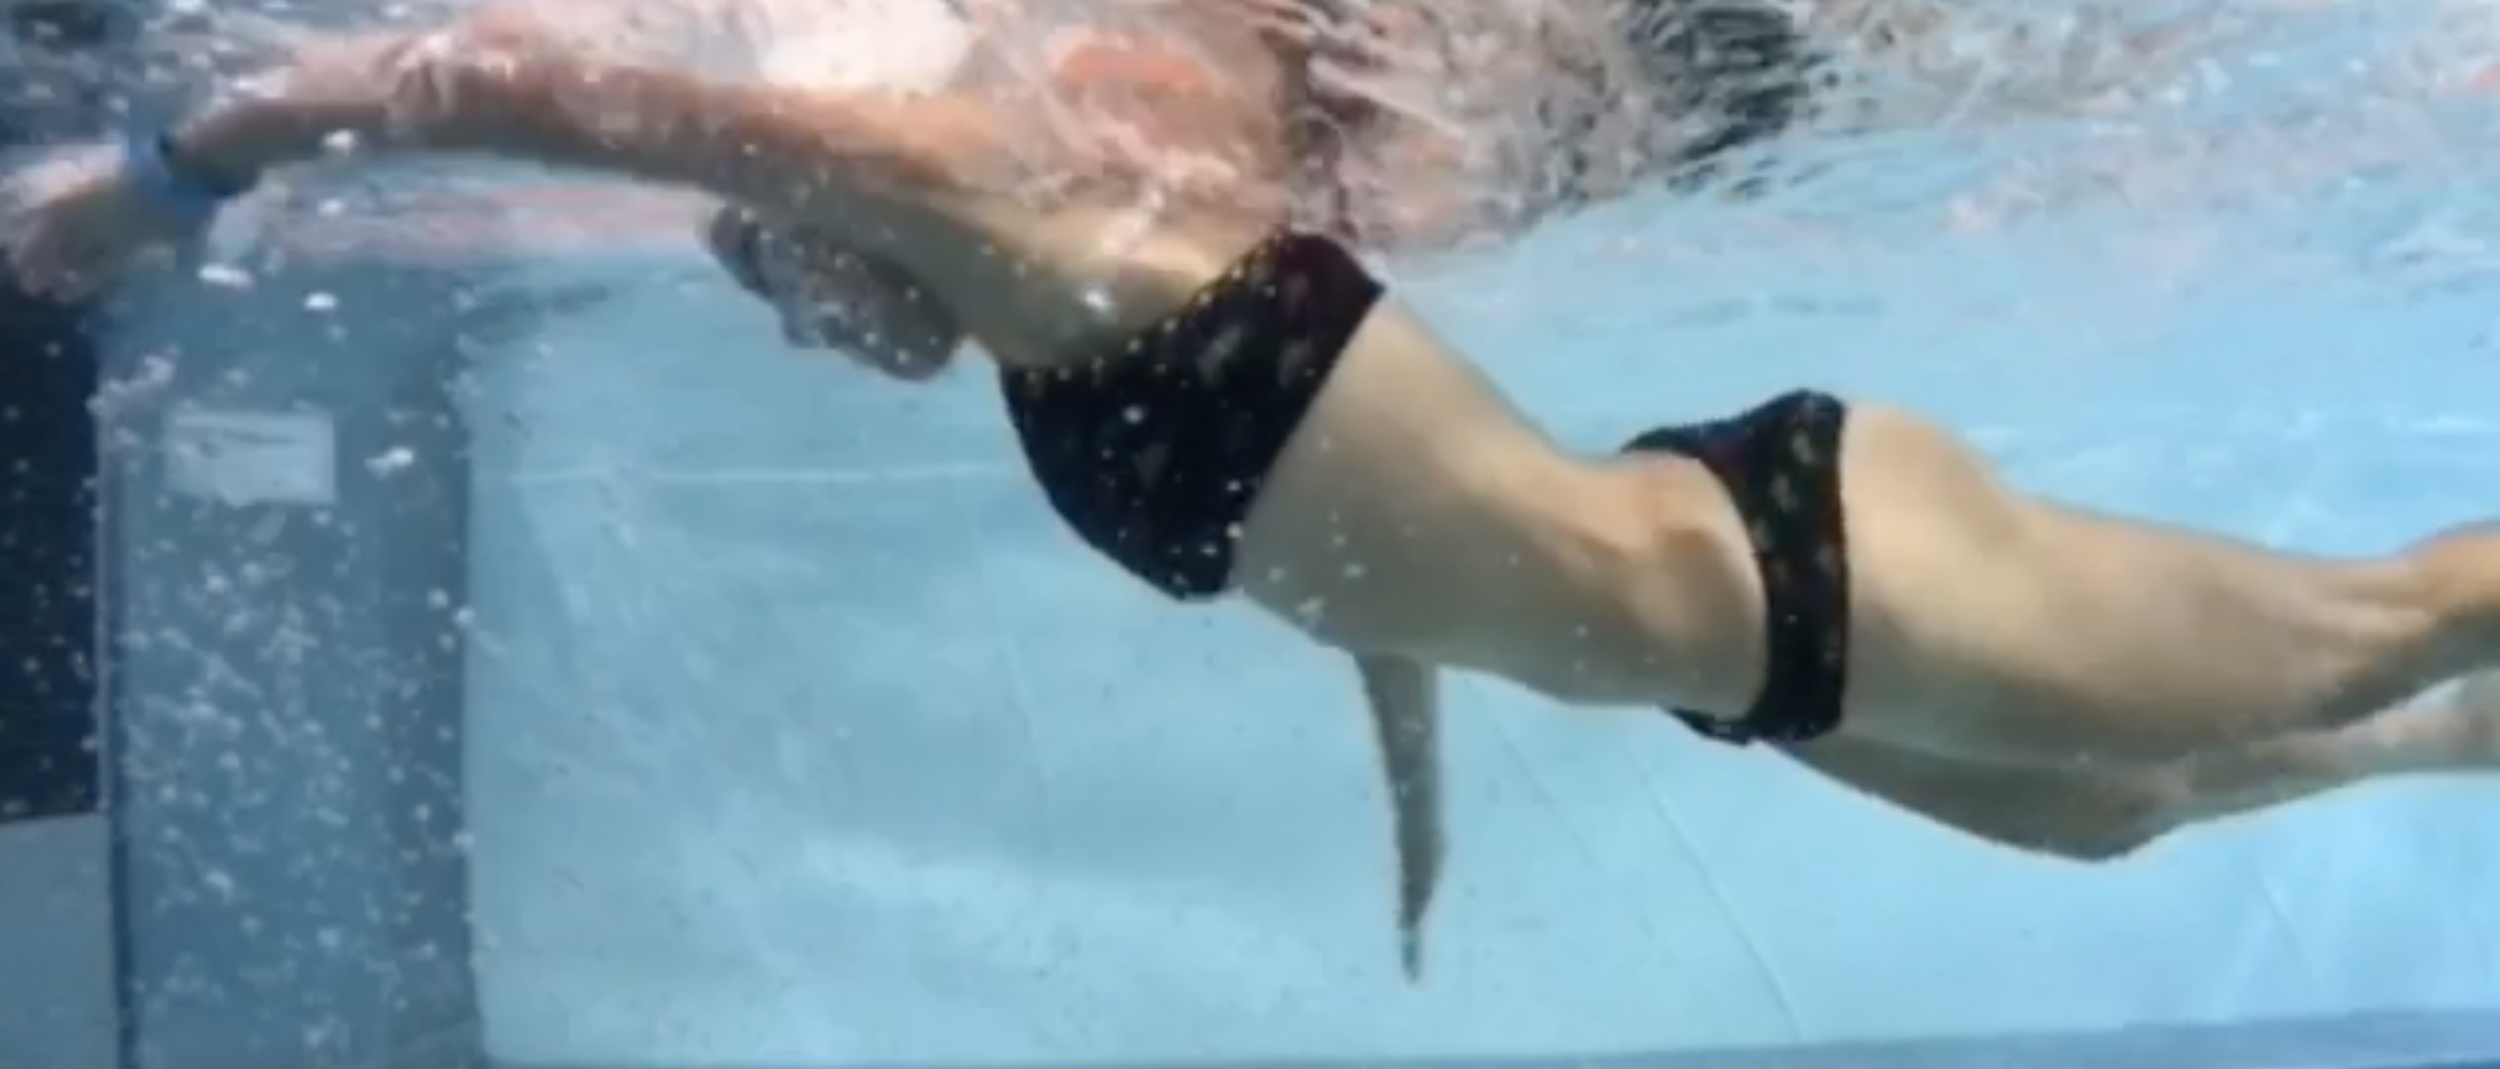
After working on this movement again Dan had Katie focus on the paddle you want to make from your fingertips to your elbow during the catch and pull of your stroke. In order to gain the maximum amount of propulsion from this paddle you want to make sure you're bending at your elbow, not your wrist. To ensure this Dan fashioned together a splint of sorts to prevent Katie from bending at her wrist and losing out on the majority of her paddle.
The splint forces Katie to keep her arm straight from her fingertips to her elbow, which creates the largest paddle possible to propel her through the water. The larger the paddle, the more efficient your stroke will become, and the easier it will be to move forward faster. Using the splint gives Katie better body awareness as to what she's looking for when she removes it and swims on her own. Understanding the feeling you're looking for when making a change to your stroke is key to making the change properly and progressing more quickly.
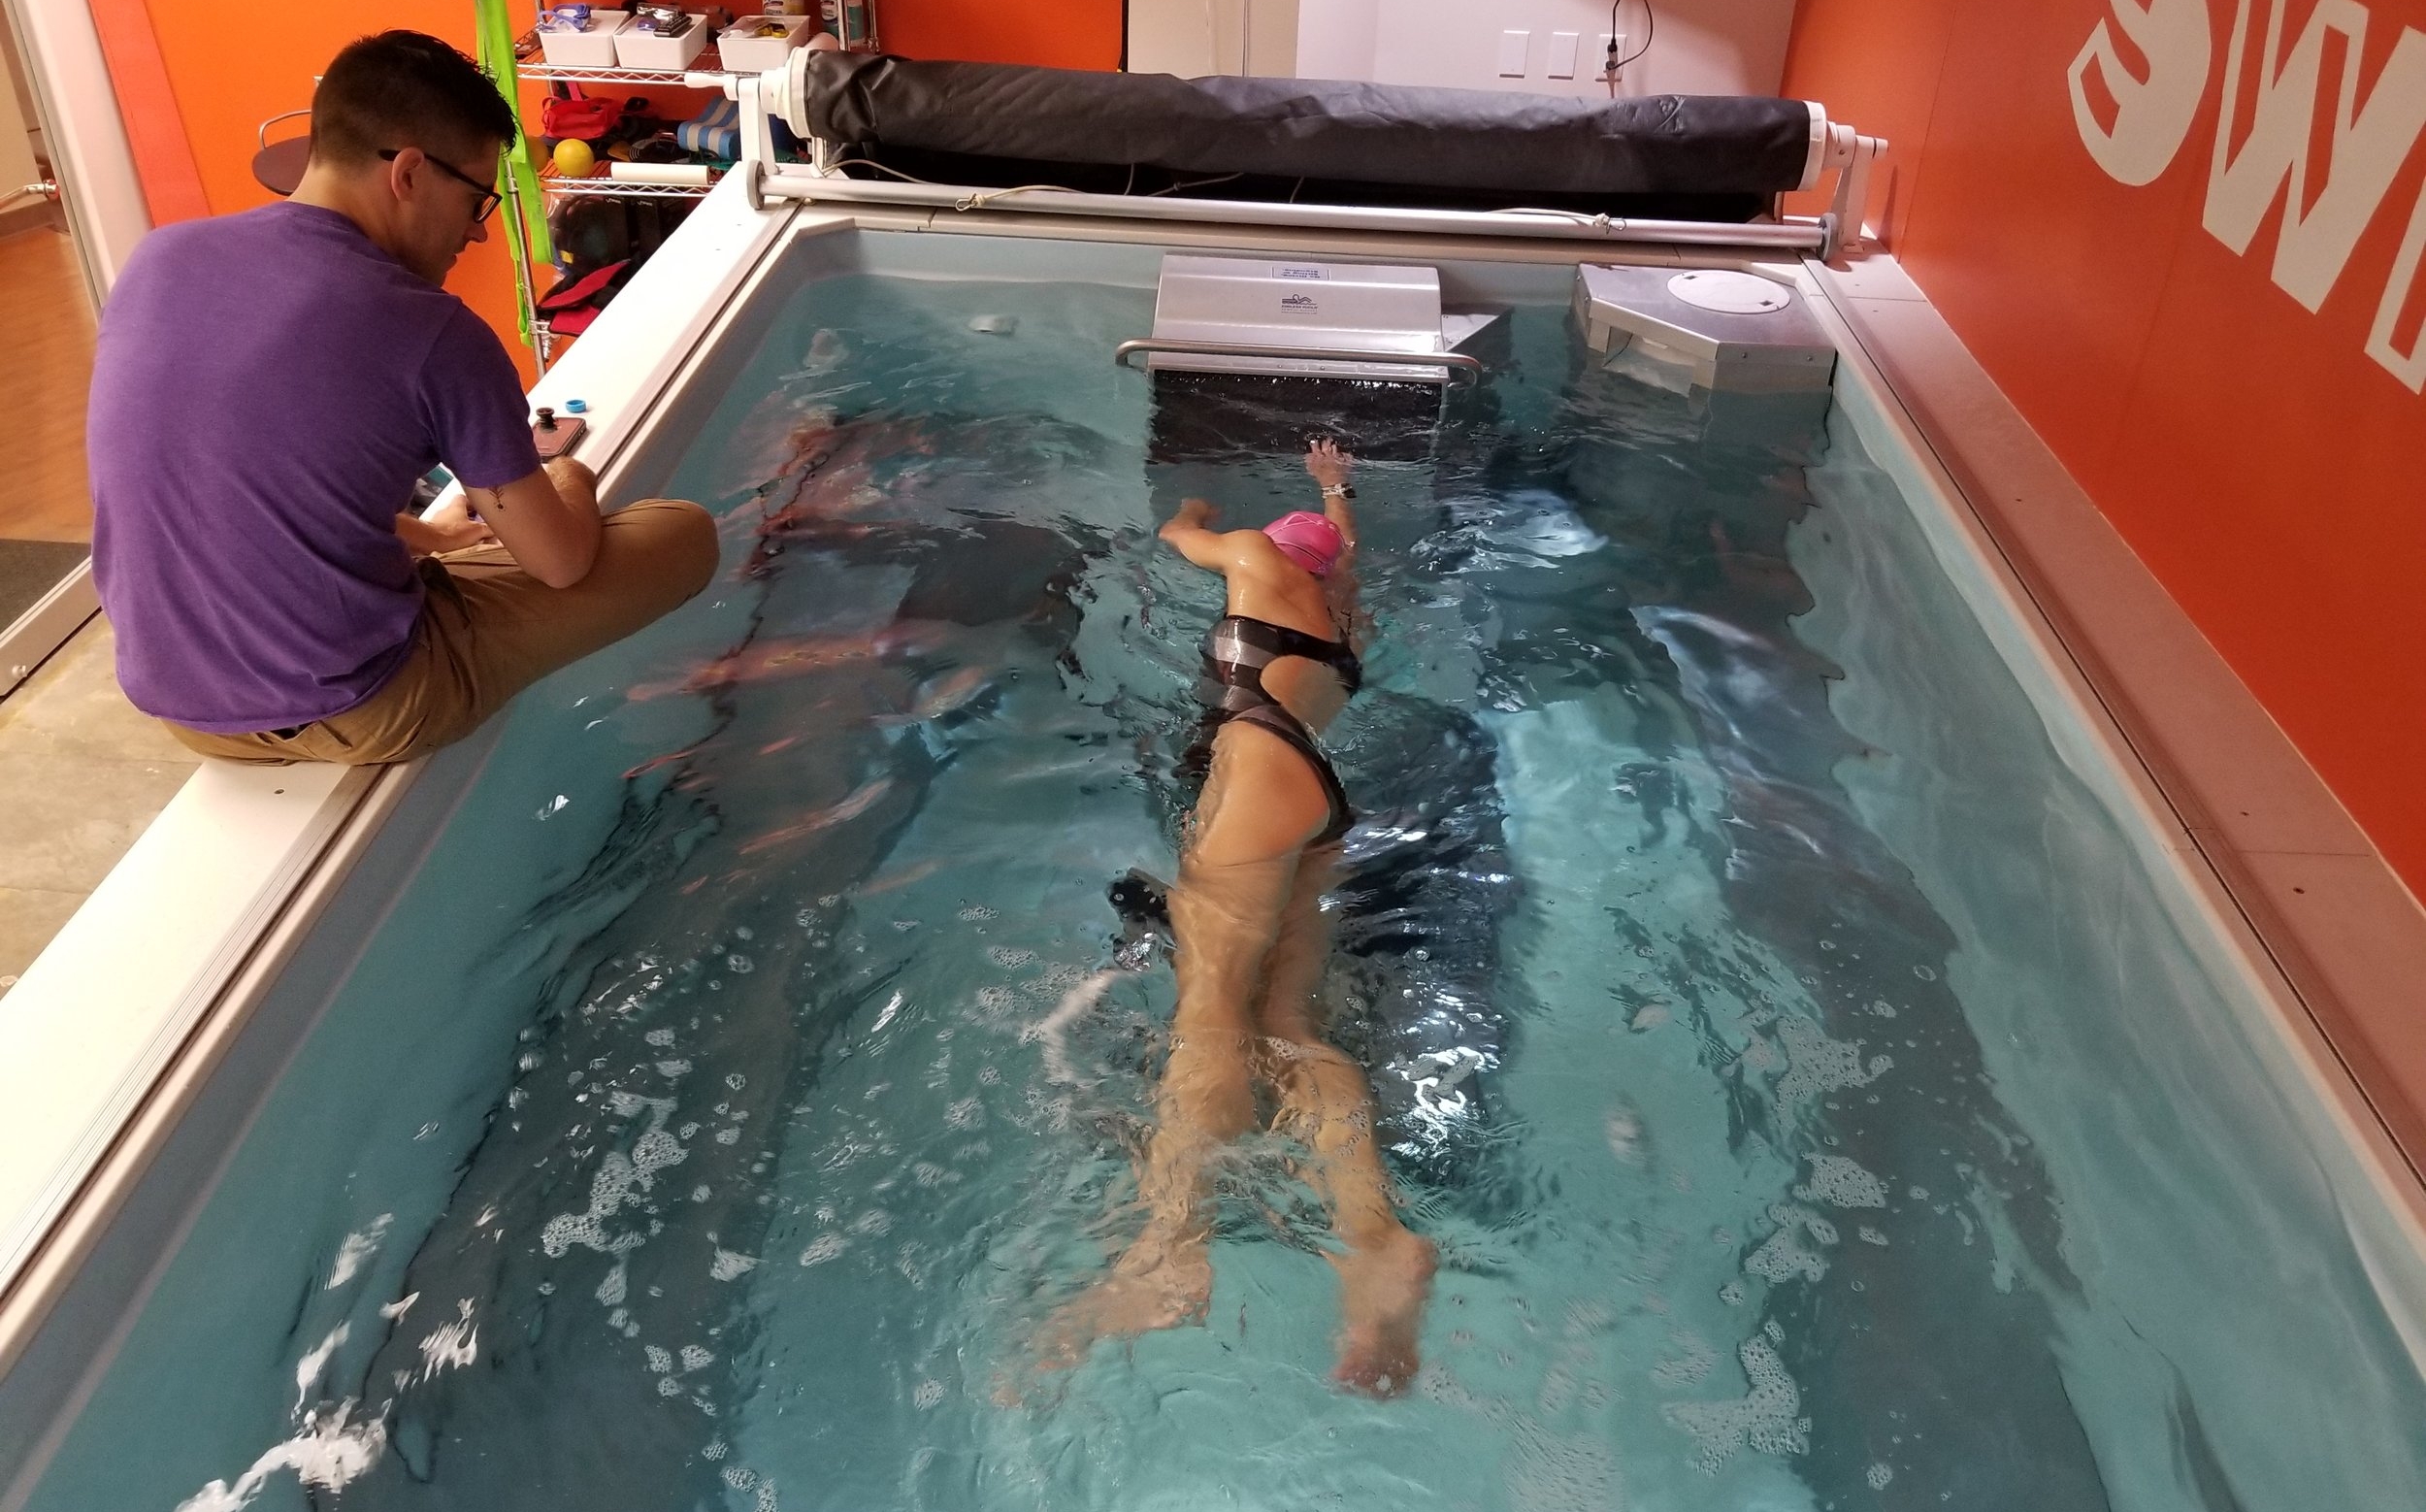
In between her lessons here Katie's doing workouts on her Vasa Trainer SwimErg that she has at home to work on strengthening the main muscles we use for swimming as well as up her endurance. An example of one of her workouts is listed below.
Repeat each three times:
two minutes of good catch movement (do butterfly or freestyle catch; no watts needed, just focus on proper movement)
two minutes freestyle catch at 20-40 watts (make sure you focus on keeping a good catch movement - keeping proper movement is key, especially when picking up the pace)
:15 seconds of freestyle catch at 100+ watts x 6; :30 seconds rest in between each round
Being able to focus on strengthening these movements outside of the pool is such an important piece to training and progressing in your times. The more endurance you gain on the SwimErg the more efficiently you'll be able to move through the water when you hop back in the pool. It's also a great tool to use when you're trying to find proper body awareness.
Stay tuned to see how Flaca's lesson goes this week!
When you wake up every morning, open your front door, and walk straight into a wall of sticky, uncomfortable humidity, what does that mean? Besides that you want to turn right back around and bask in the refreshingly cool feeling of your air conditioning that is. Summer's here in Northern Virginia! And in the summer open water races and triathlons take over a lot of your calendars, so we thought this was the perfect opportunity to have a refresher course in our favorite sighting drills.
The first place to start, especially if you're learning to sight for the first time, is Alligator Eyes Drill. This is kind of like a modified tarzan drill where you're swimming with your head and shoulders much higher in the water than you normally would. For Alligator Eyes you want to swim with just your eyes above the surface of the water, keeping your nose and mouth in the water, allowing you to see what's in front of you.
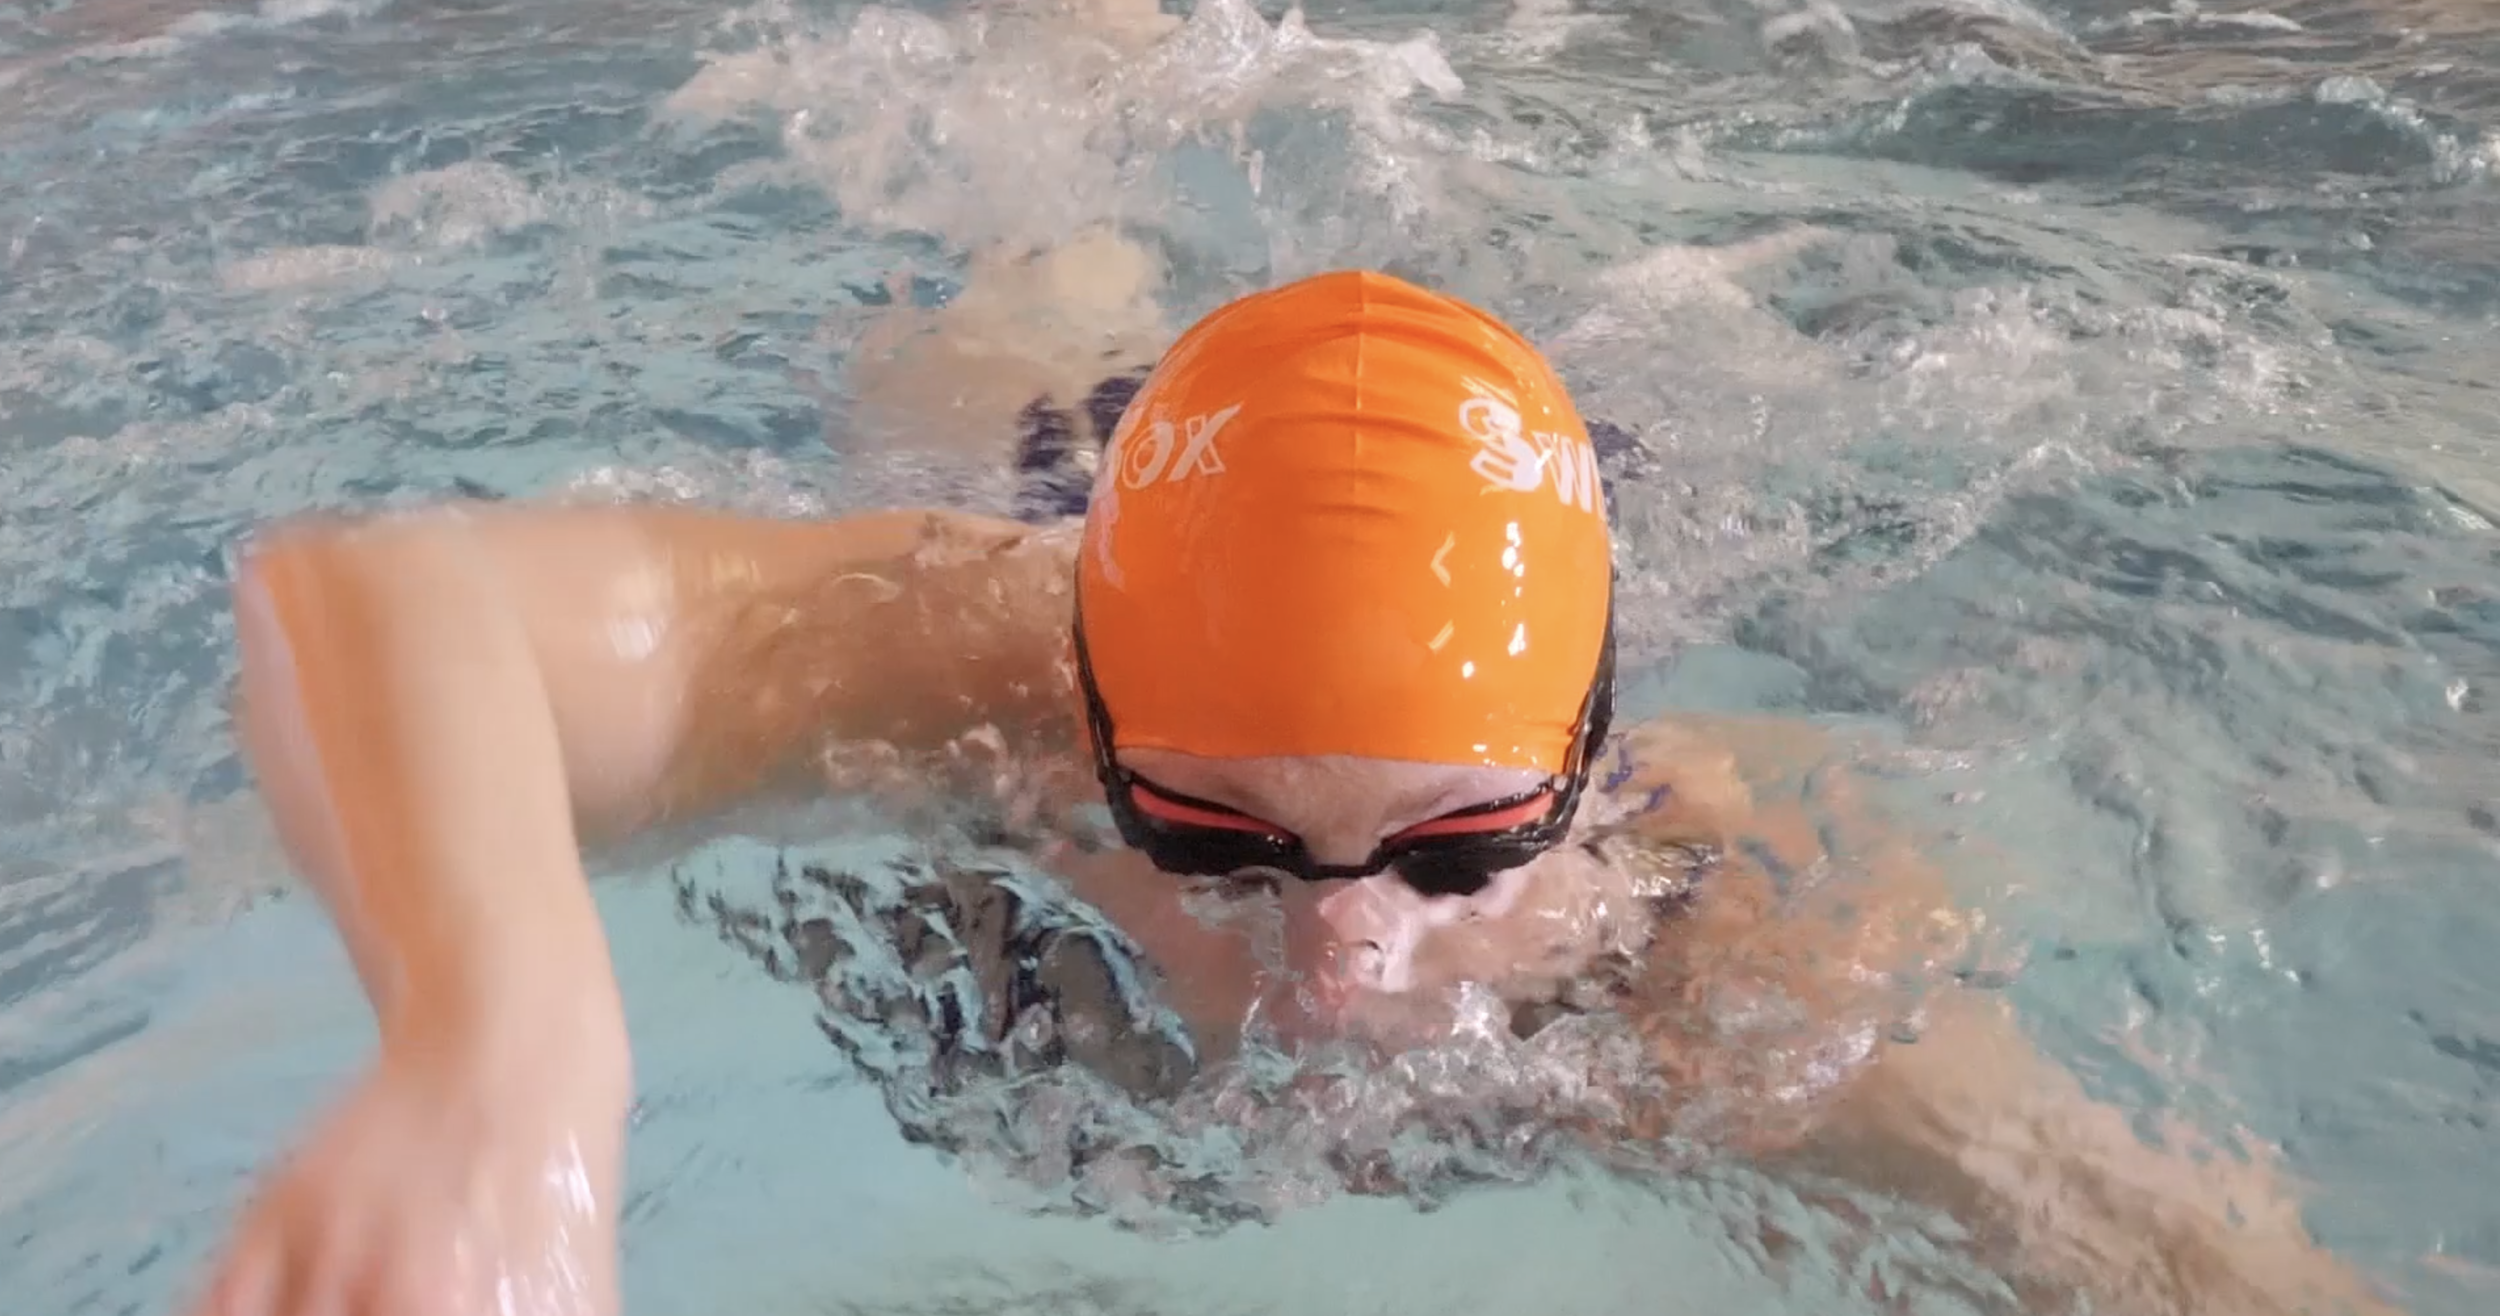
Make sure not to lift your head up too far when practicing this drill, as doing so will quickly drain your energy from having to hold your head up without the help of the water. It's important to know that lifting your head for this drill will cause your hips to drop, increasing your drag/resistance, and causing your stroke to become less efficient. Don't worry, it's just a drill! When you go back to swimming normally, with your head down and your eyes looking at the bottom of the pool, your body will go back to the proper position.
To take a breath simply put your head back down into normal position and breathe to the side, just like you would in your regular freestyle. When practicing this drill in a pool, find something in front of you to use to practice your sighting.
Uploaded by SwimBox on 2018-07-12.
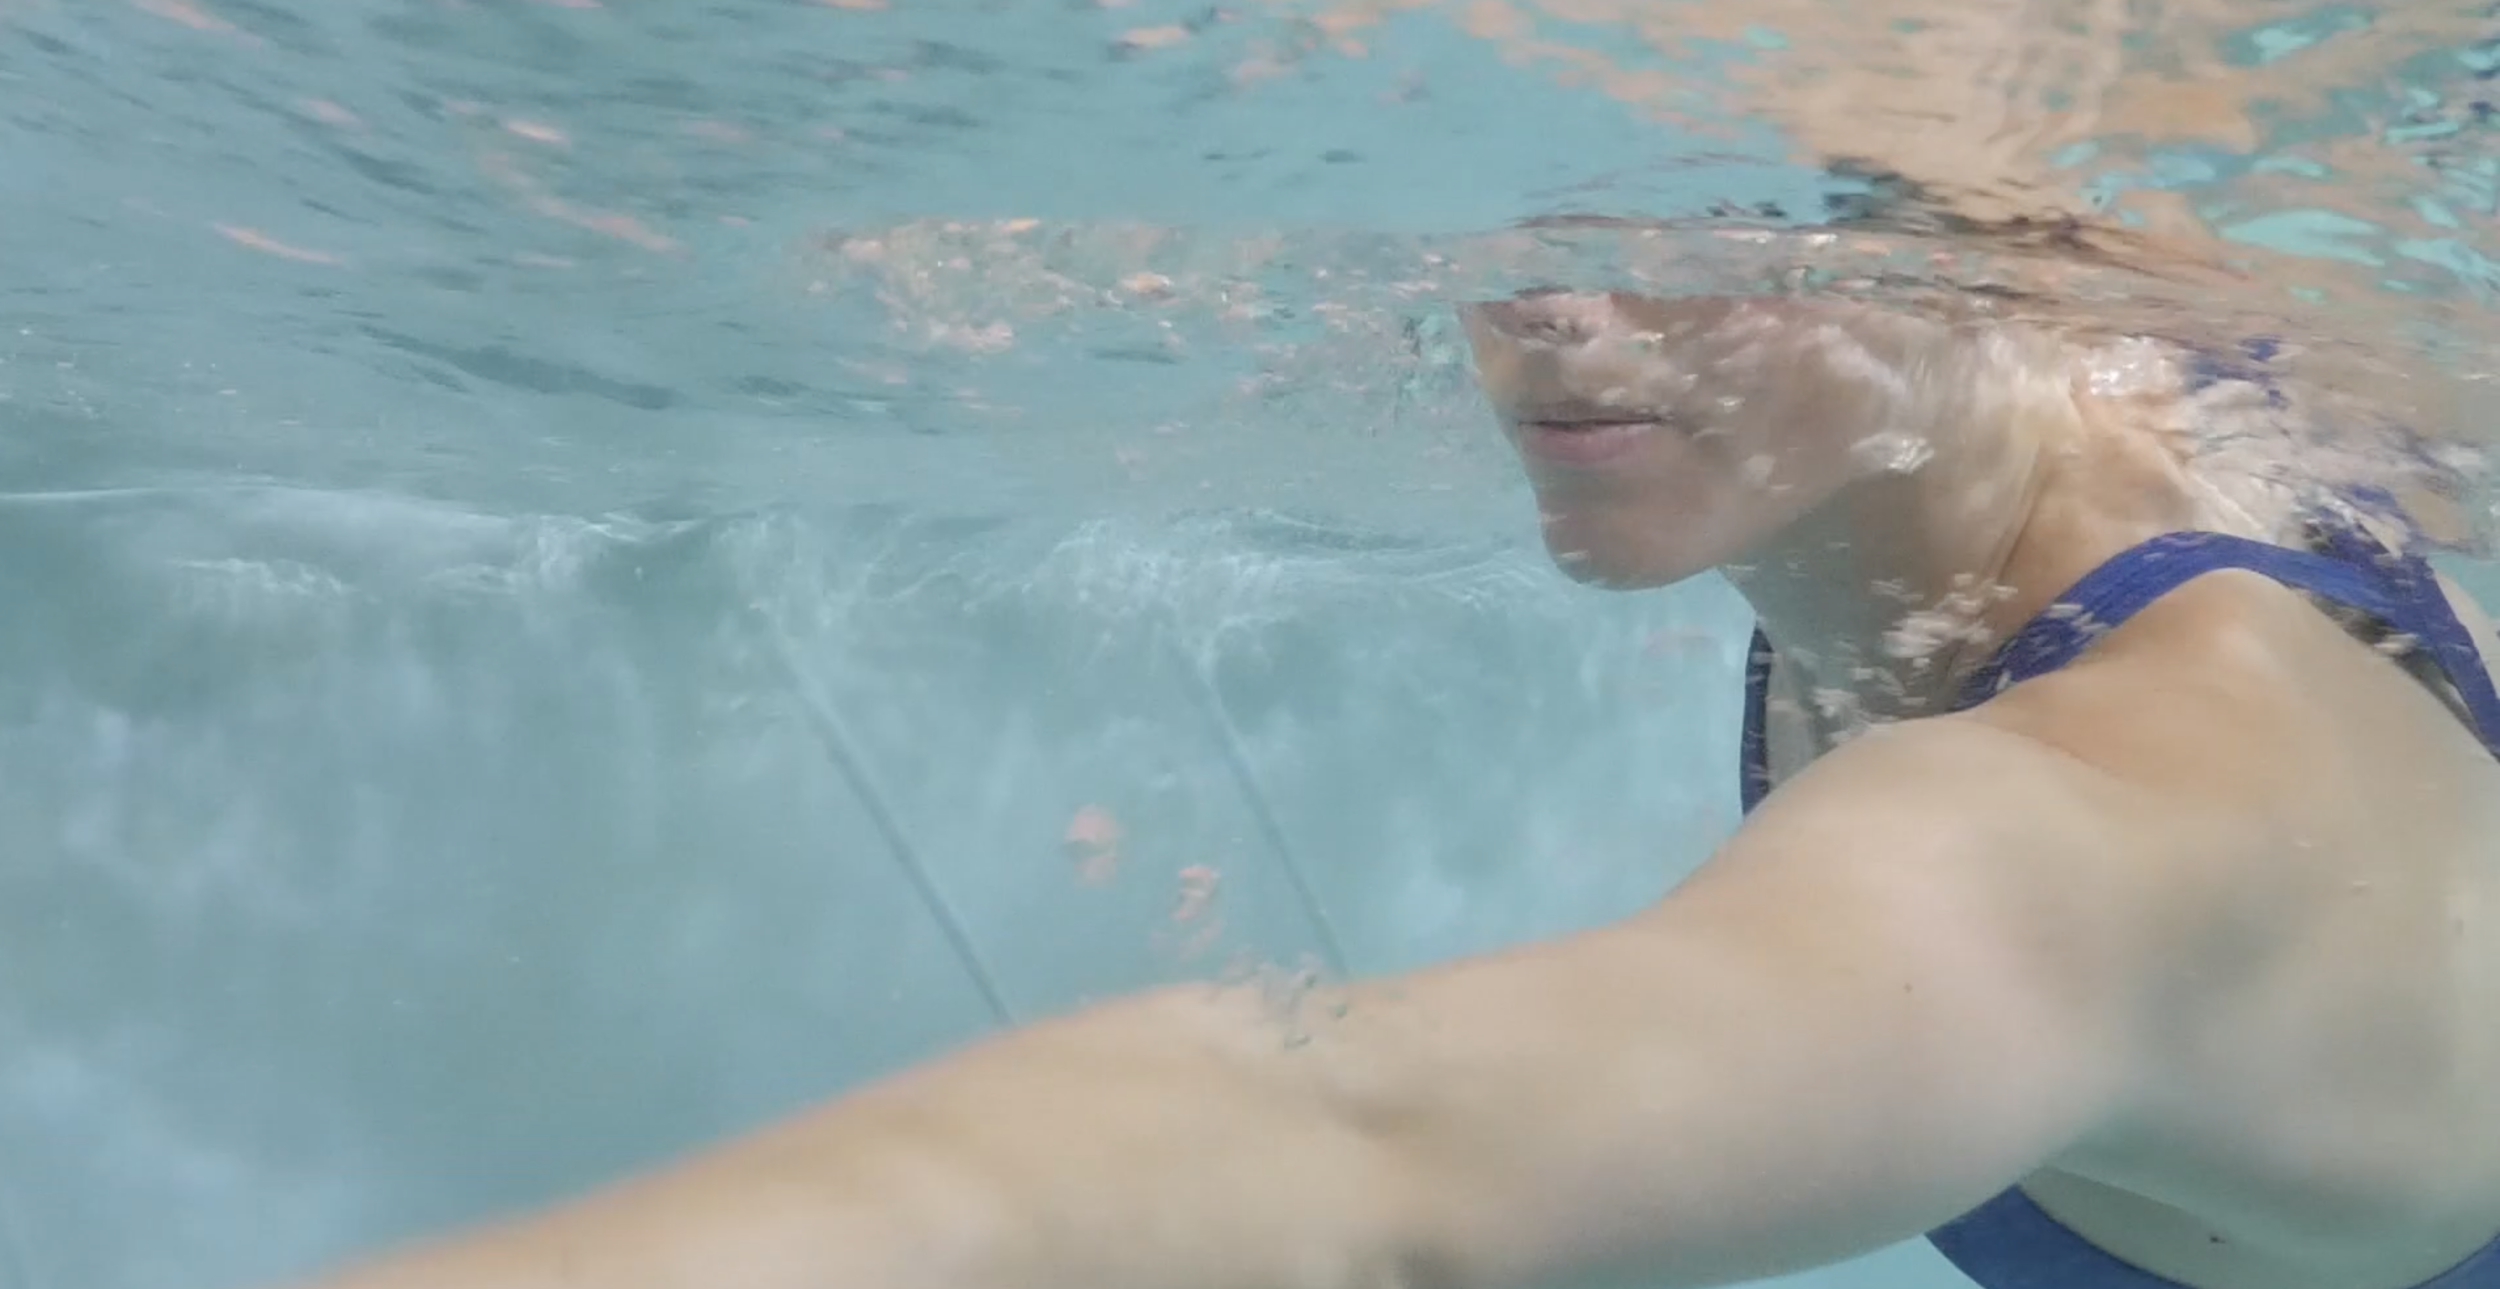
My next favorite progression for sighting is a Rolling Sight, which is an advanced version and the next step towards sighting in the open water. This is actually the exact way I've come to sight in open water, as it very easily incorporates into a correct freestyle. I used to swim Tarzan Drill every time I got in the open water, and let me tell you, it wasn't pretty. It also zapped my energy and I kind of looked like an injured seal...but anyway, back to the point,.
A Rolling Sight works on adding a sight to your stroke while still swimming your regular freestyle. As opposed to keeping your head up the whole time, like in Alligator Eyes, you want to lift your eyes out of the water every 4-6 strokes. This movement is meant to quickly sight an object in the distance, most likely a buoy if you're racing, to keep you on course. Keep in mind this sight is not meant for you to be able to see everything perfectly! It's a quick look up to check where you are and keep you swimming in the right direction.
Play around with this one the first time you try it out to get the right number of strokes for you. Some people swim straight without evening trying and only need to sight every 8-10 strokes, whereas others need to sight more frequently. My stroke count in between sights varies depending on how choppy the water feels and if I'm feeling jostled around. There's no right number, just whatever feels comfortable to you. However, it's always better to sight more frequently than less frequently to stay on the safe side.
In case it's not clear at this point, these ladies are really dedicated to improving their swimming! We've been seeing them as close to once a week as all of our schedules will allow, and both Katie and Flaca are making huge improvements to their stroke technique with our swim lessons and work on the Vasa Trainer SwimErg. If you haven't already make sure to check out the breakdown of Flaca's lesson from last week here to read about her work on elbow position and timing of her catch.
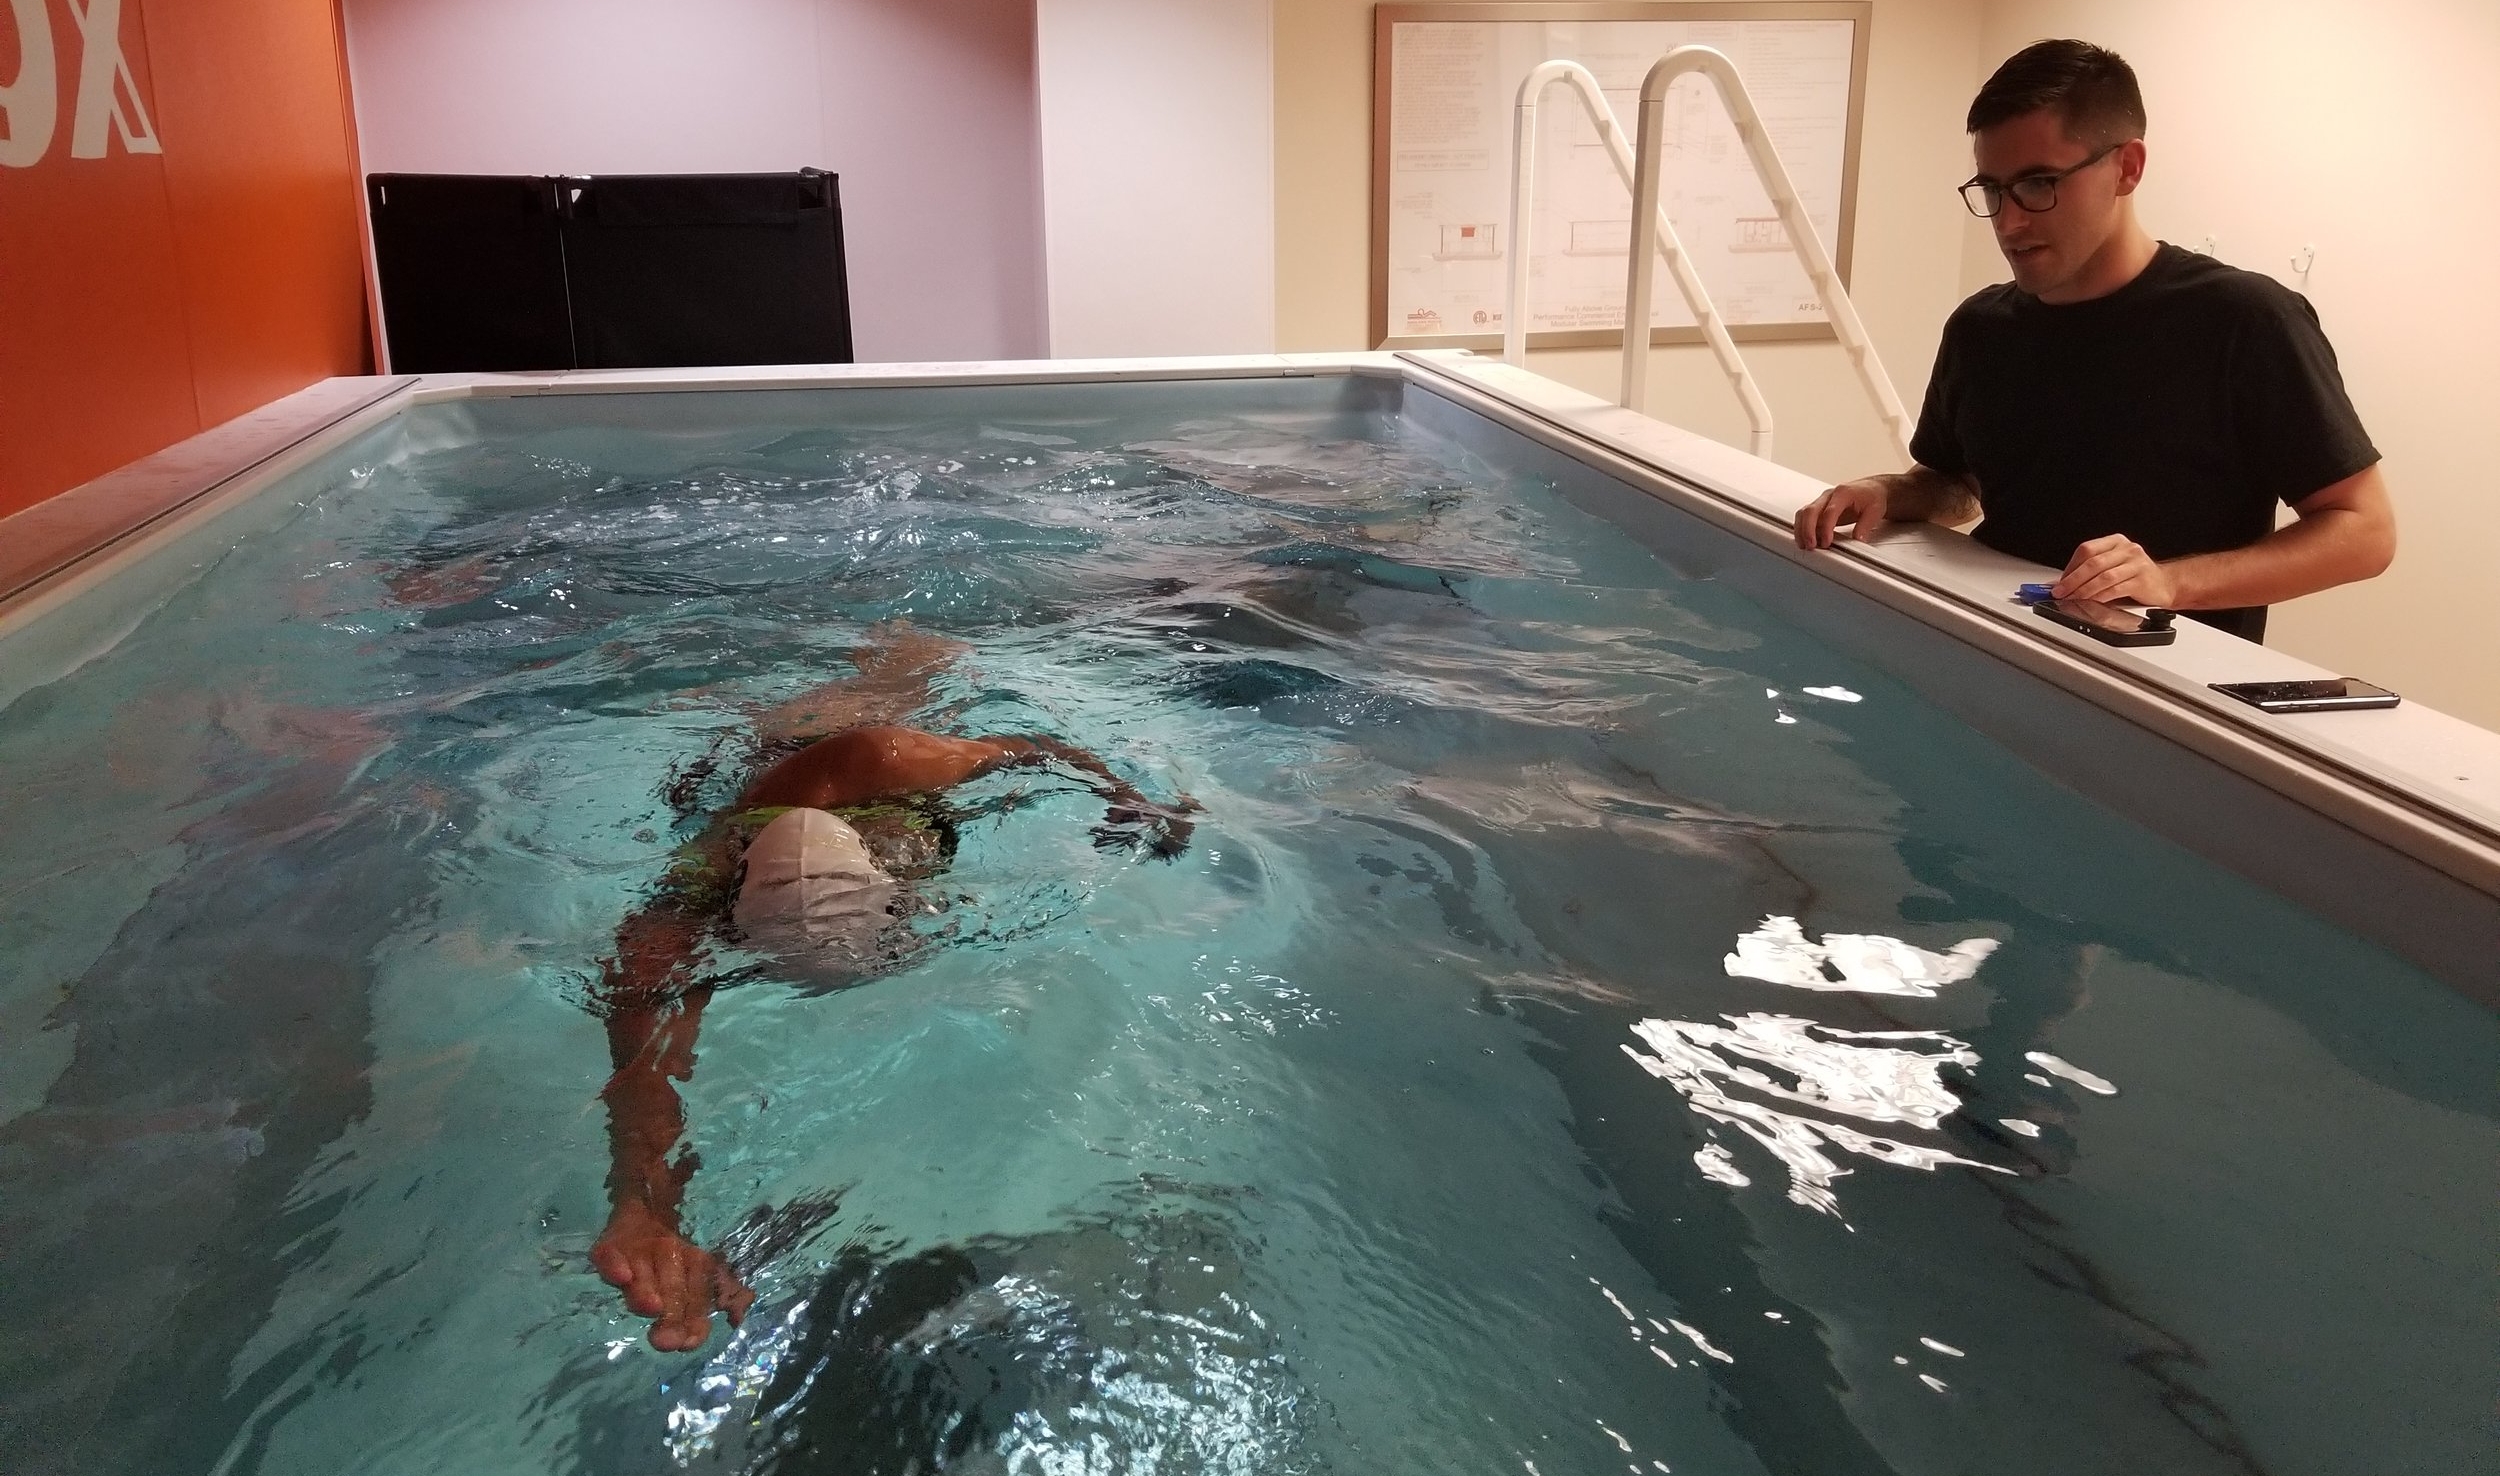
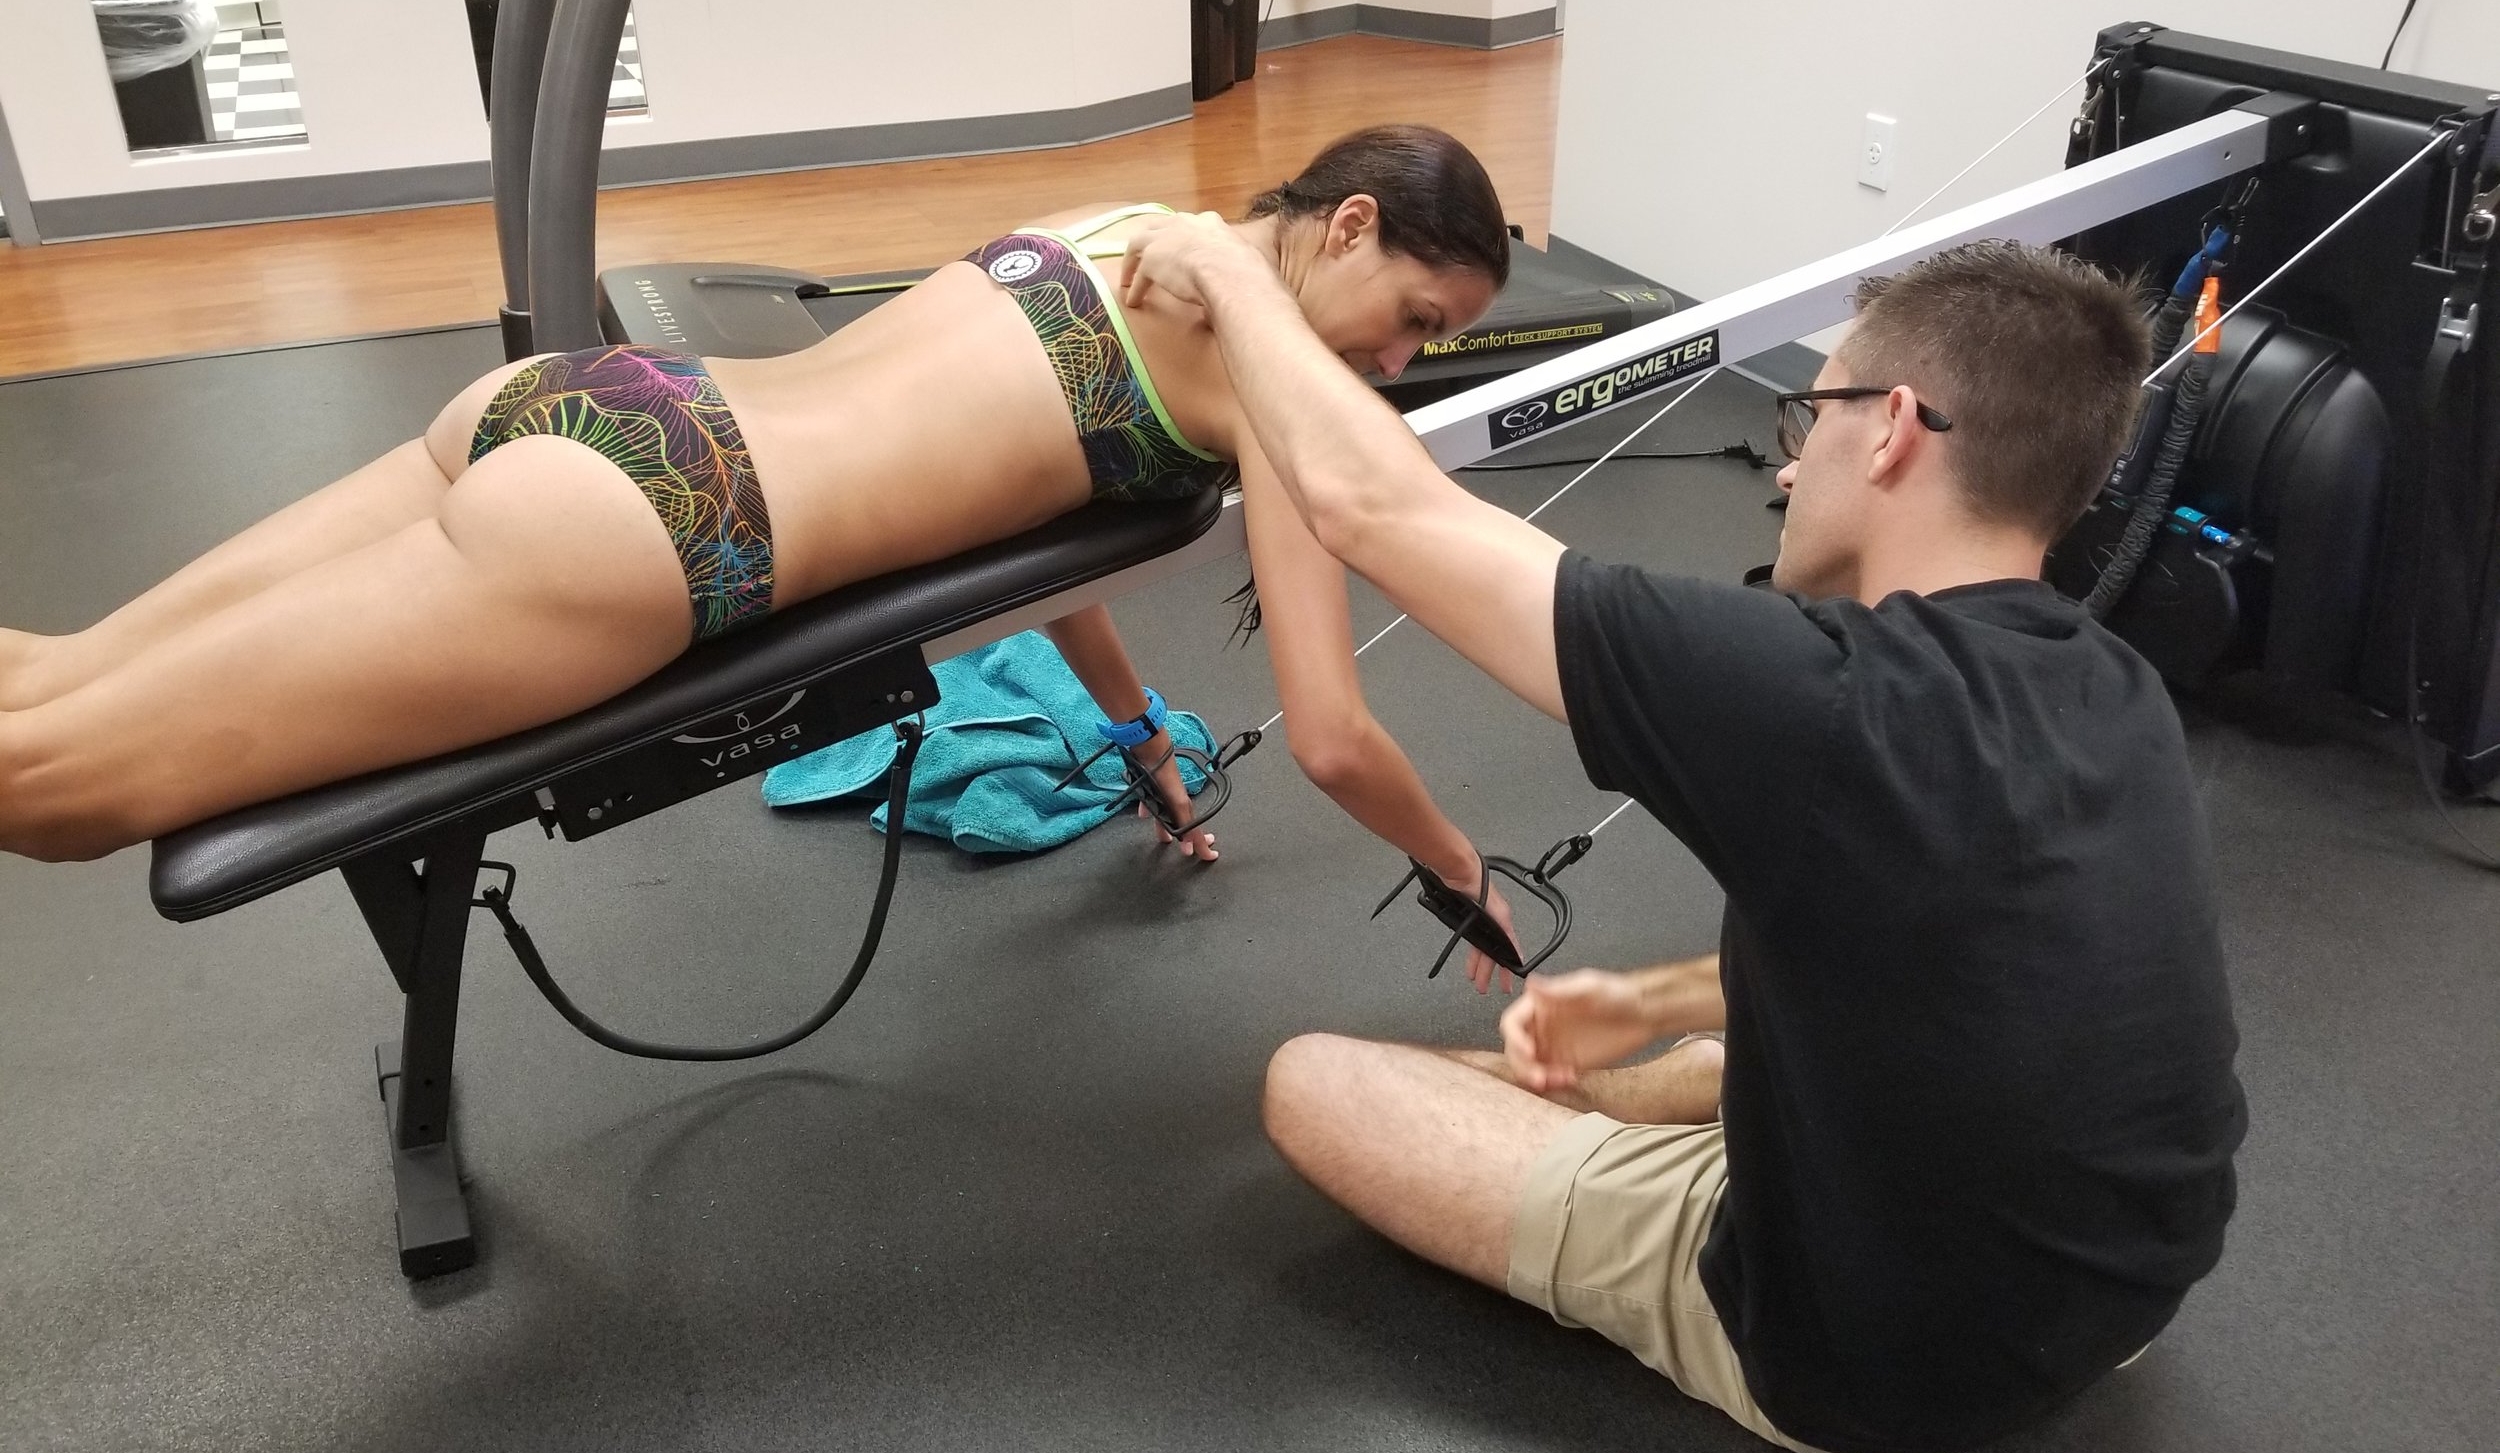
The main focus of Katie's lesson this week was on her finish and recovery. With so much emphasis on having and maintaining a proper catch position, the finish of your stroke into your recovery is often an overlooked aspect of freestyle. In order to fully benefit from the propulsion you get from your catch and pull, you need to keep your palm facing backwards and make a "J" shaped movement from the finish of your stroke into your recovery. For clarification, the recovery is the portion of your stroke from when your hand exits the water after you finish your pull to when you place your hand back in the water to start your next catch. Essentially, the entire time your arm is out of the water is your recovery.


To practice and gain better understanding of the "J" shape we're looking for, Dan had Katie work on just the finish of her stroke without actually making any full stroke movements. Lying face down in the water with her hands at her sides, Katie made an egg beater motion with each arm, only pushing backwards and slightly out using her forearm and hand. Dan has his hand in the water to give Katie something to aim for in order to give her direction as to where we want her to finish her stroke.
It's commonly thought that you want to pull back and finish your stroke in a straight line. And in a perfect world, that would make sense. BUT, because your hips are rotating during the entirety of your stroke, it pulls your arm and hand inward towards your body. This movement prevents you from pulling back in a straight line, and will even result in recoveries starting behind you or stacked directly on top of your torso. We use the "J" shape movement to keep your paddle in a straight line and to keep your palm facing back - not up towards the surface - in order to connect the fluid motion into your recovery. The finish of your stroke, the "J" shape, is the beginning of your recovery.
Time for week 3! In case you're just joining us, make sure you go back and read about our first and second lessons in our SwimBox and Vasa Trainer project we're currently working on with Katie Gage and Flaca Guerrero. Unfortunately Katie's daughter was sick this week and she was unable to come in, so we worked solely with Flacca on catch position and the timing of the movements of her catch, pull, and rotation.
At this point in our project I'm sure you've noticed a lot of repetition, and you're right. Our lessons are full of do this, do it again, again, make a correction, do it again, again, and so on. Repetition of small movements helps reinforce the movement as well as gives you more body awareness of how you want to feel in the water. We also drive concepts into the ground to make sure you're keeping proper positioning even when you're tired and frustrated. It can be a hard process, but one that definitely pays off.
One of the biggest things Dan noticed we need to correct with Flaca's stroke is that her wrist was always beating her elbow to the finish of her stroke. When that happens she's losing the power of her catch entirely and her arm becomes drag in the water. To work on this Flaca practiced hinge drill, which is where you float on your stomach with your arms in a superman position, and the only movement you make is in your forearm by beginning your catch. This drill is great to show the amount of power you develop from your catch as well as the position you're looking for when your hand first enters the water to start the catch.
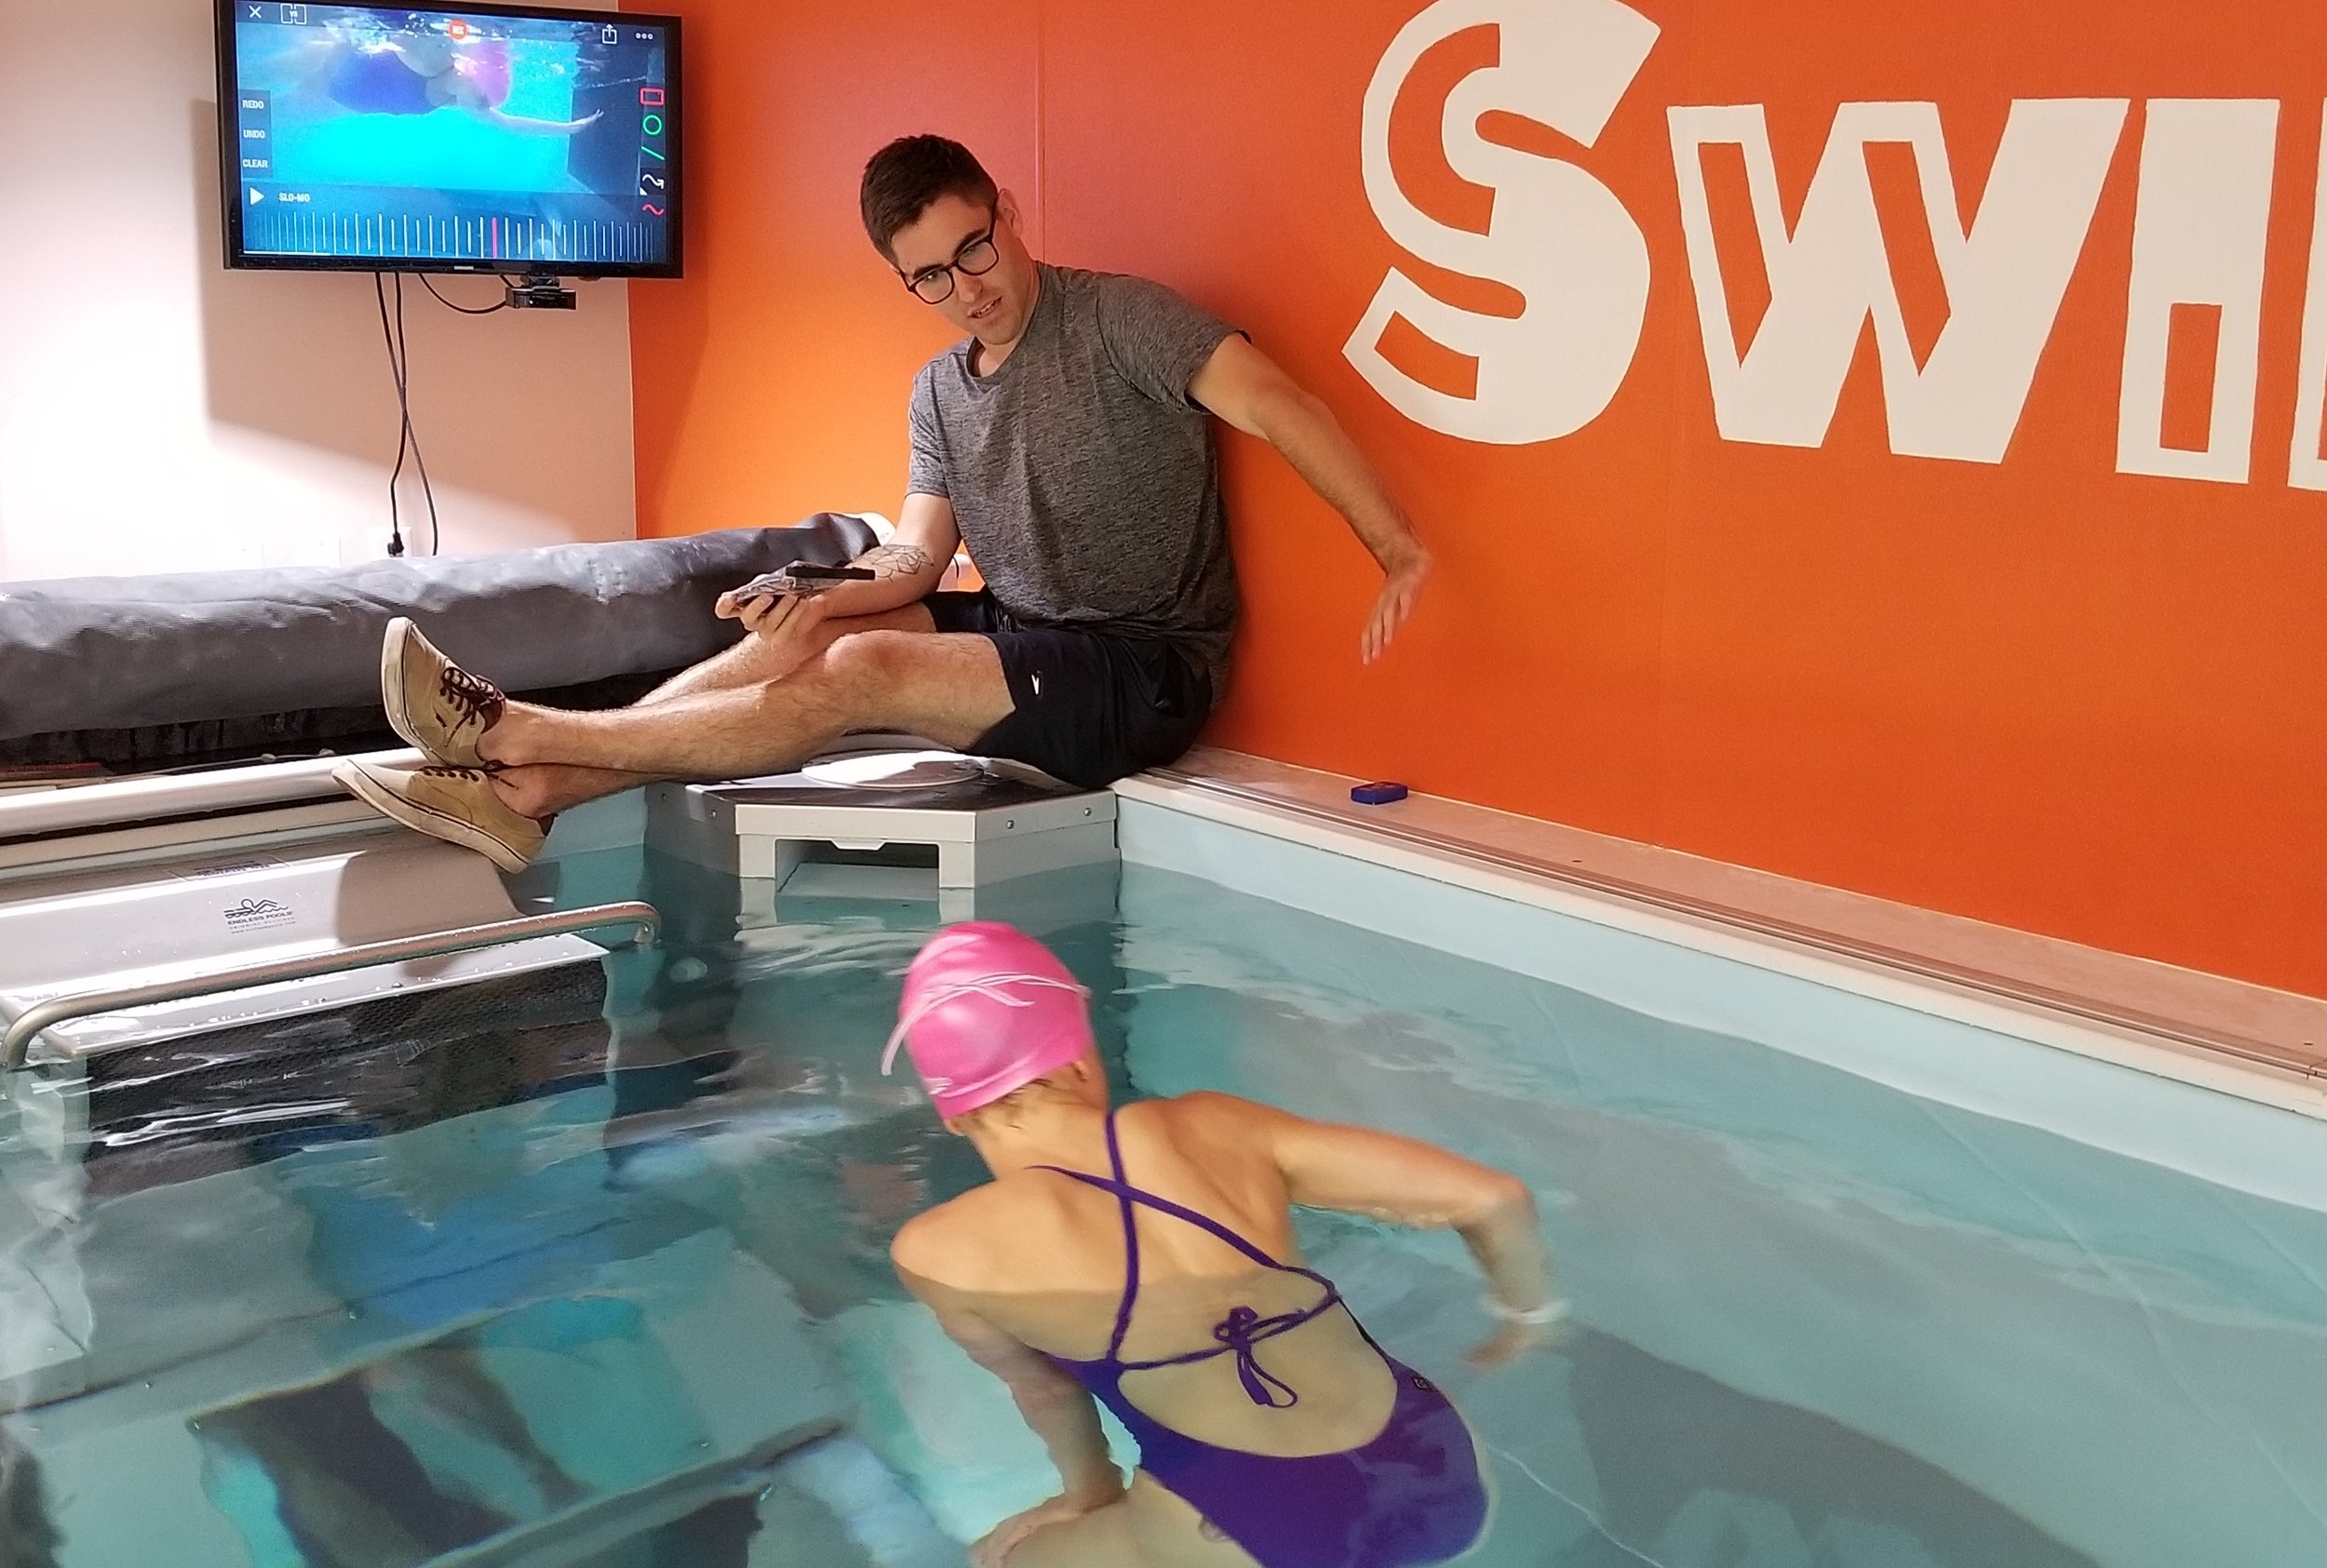
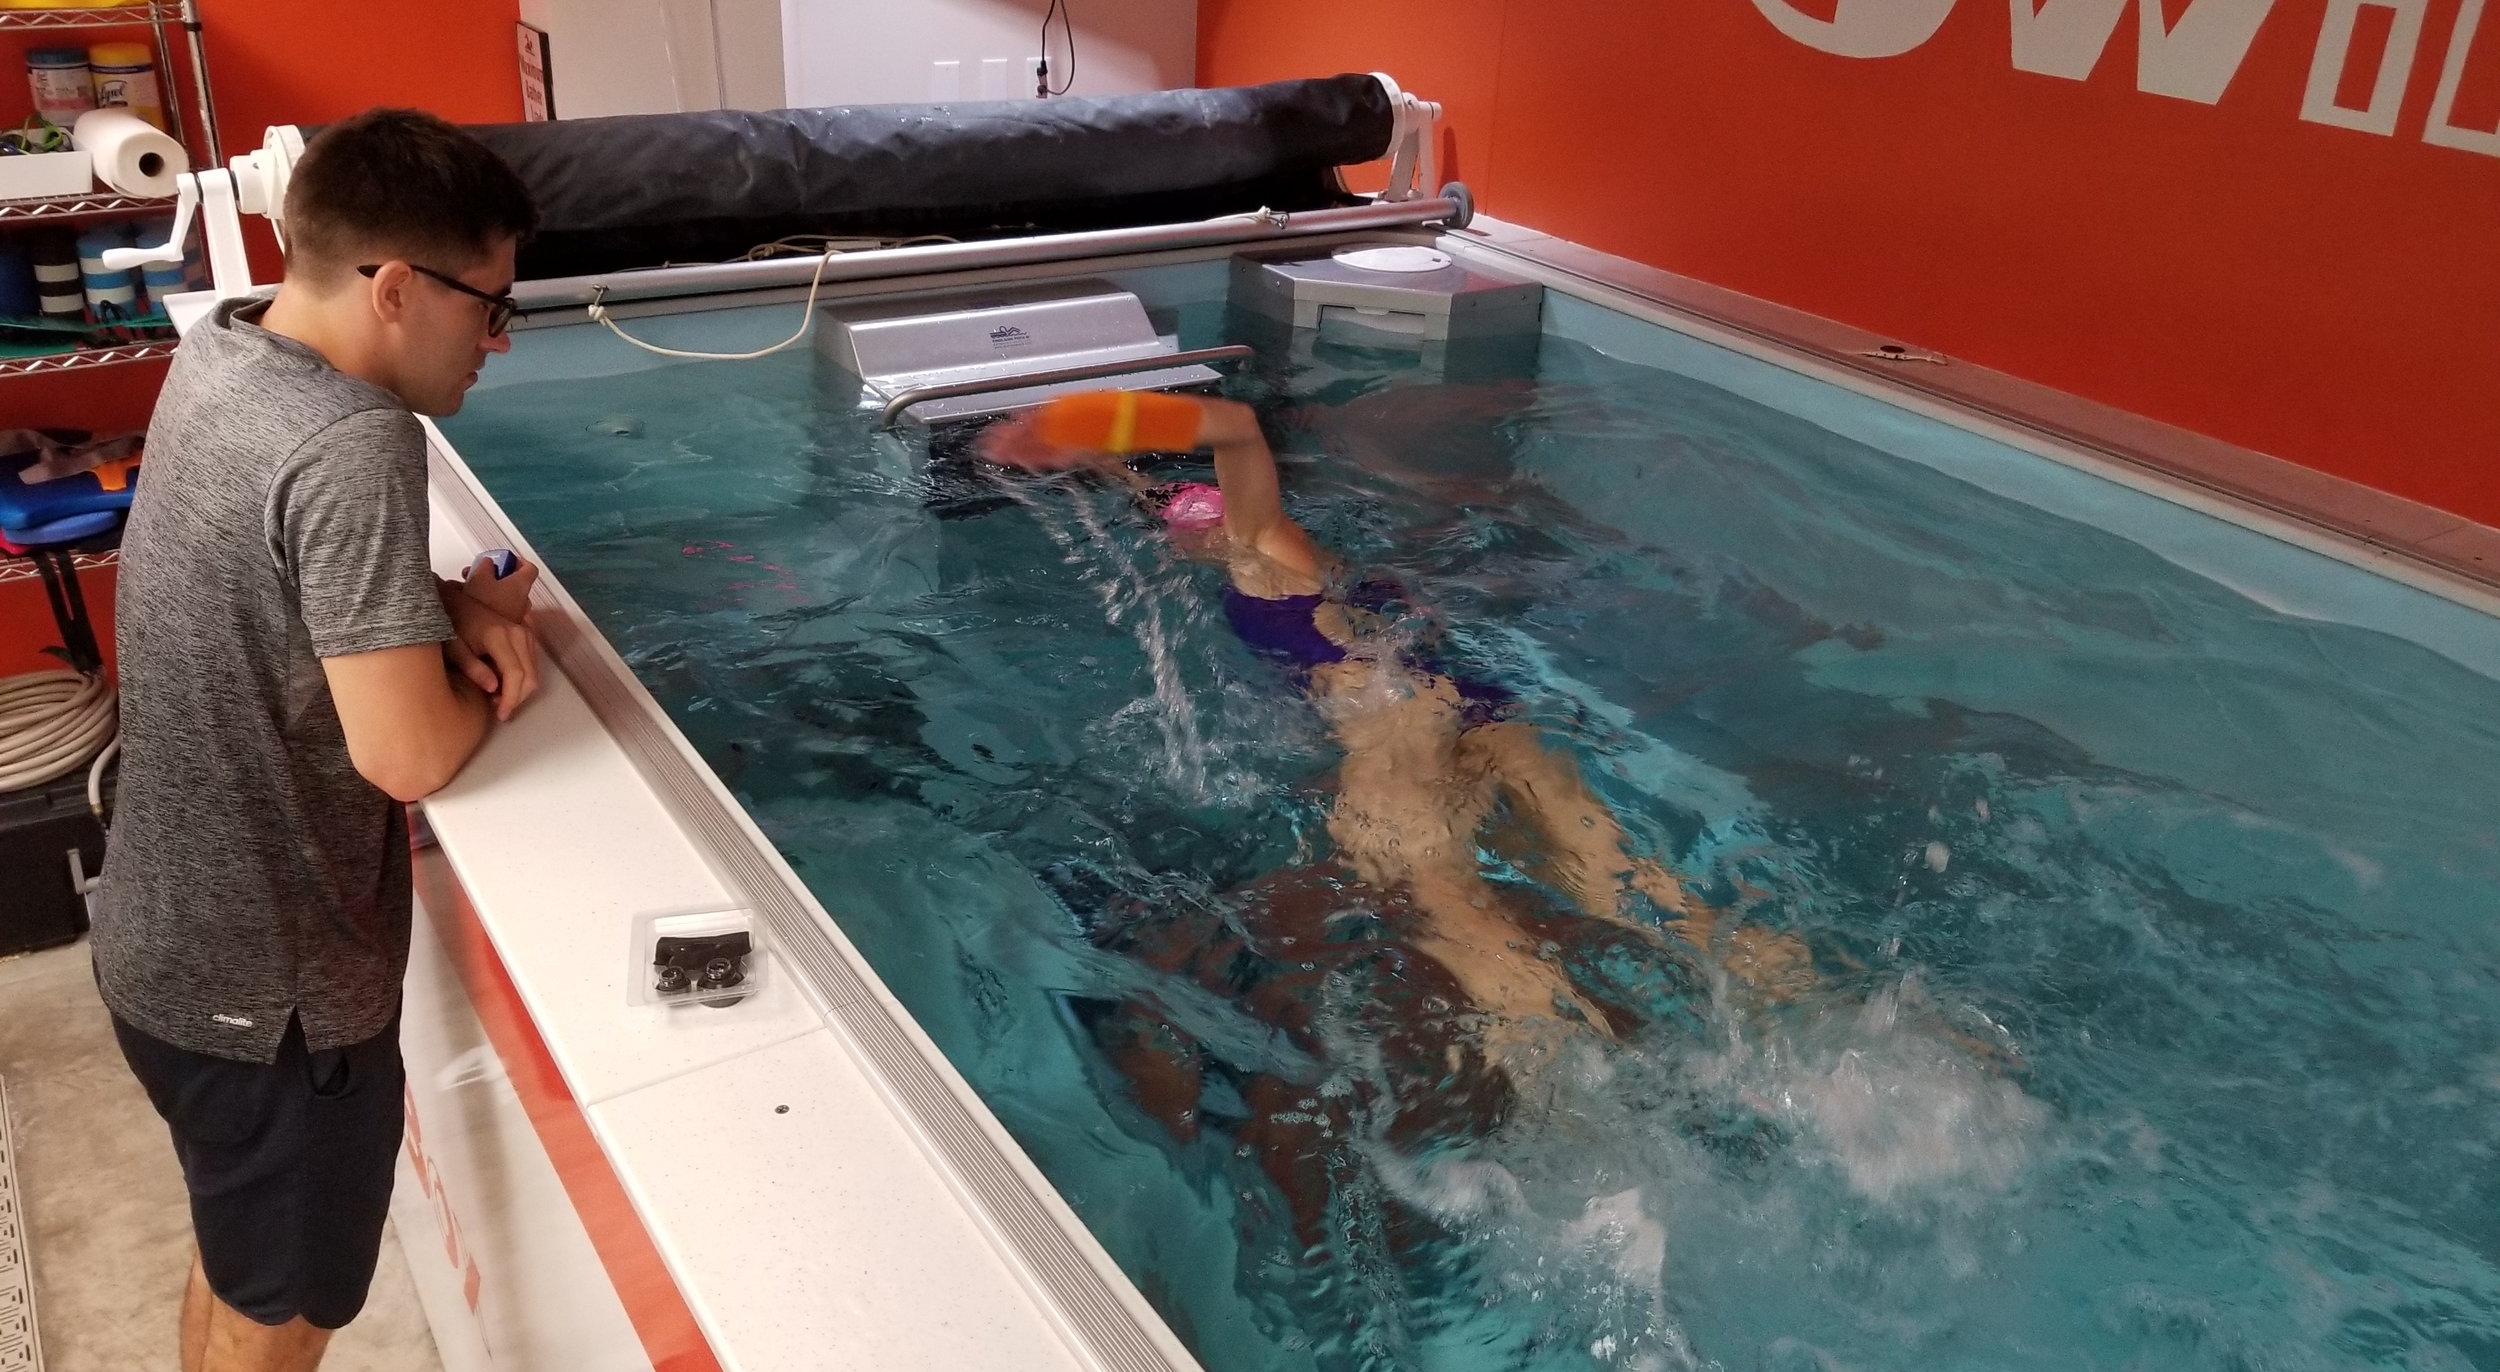
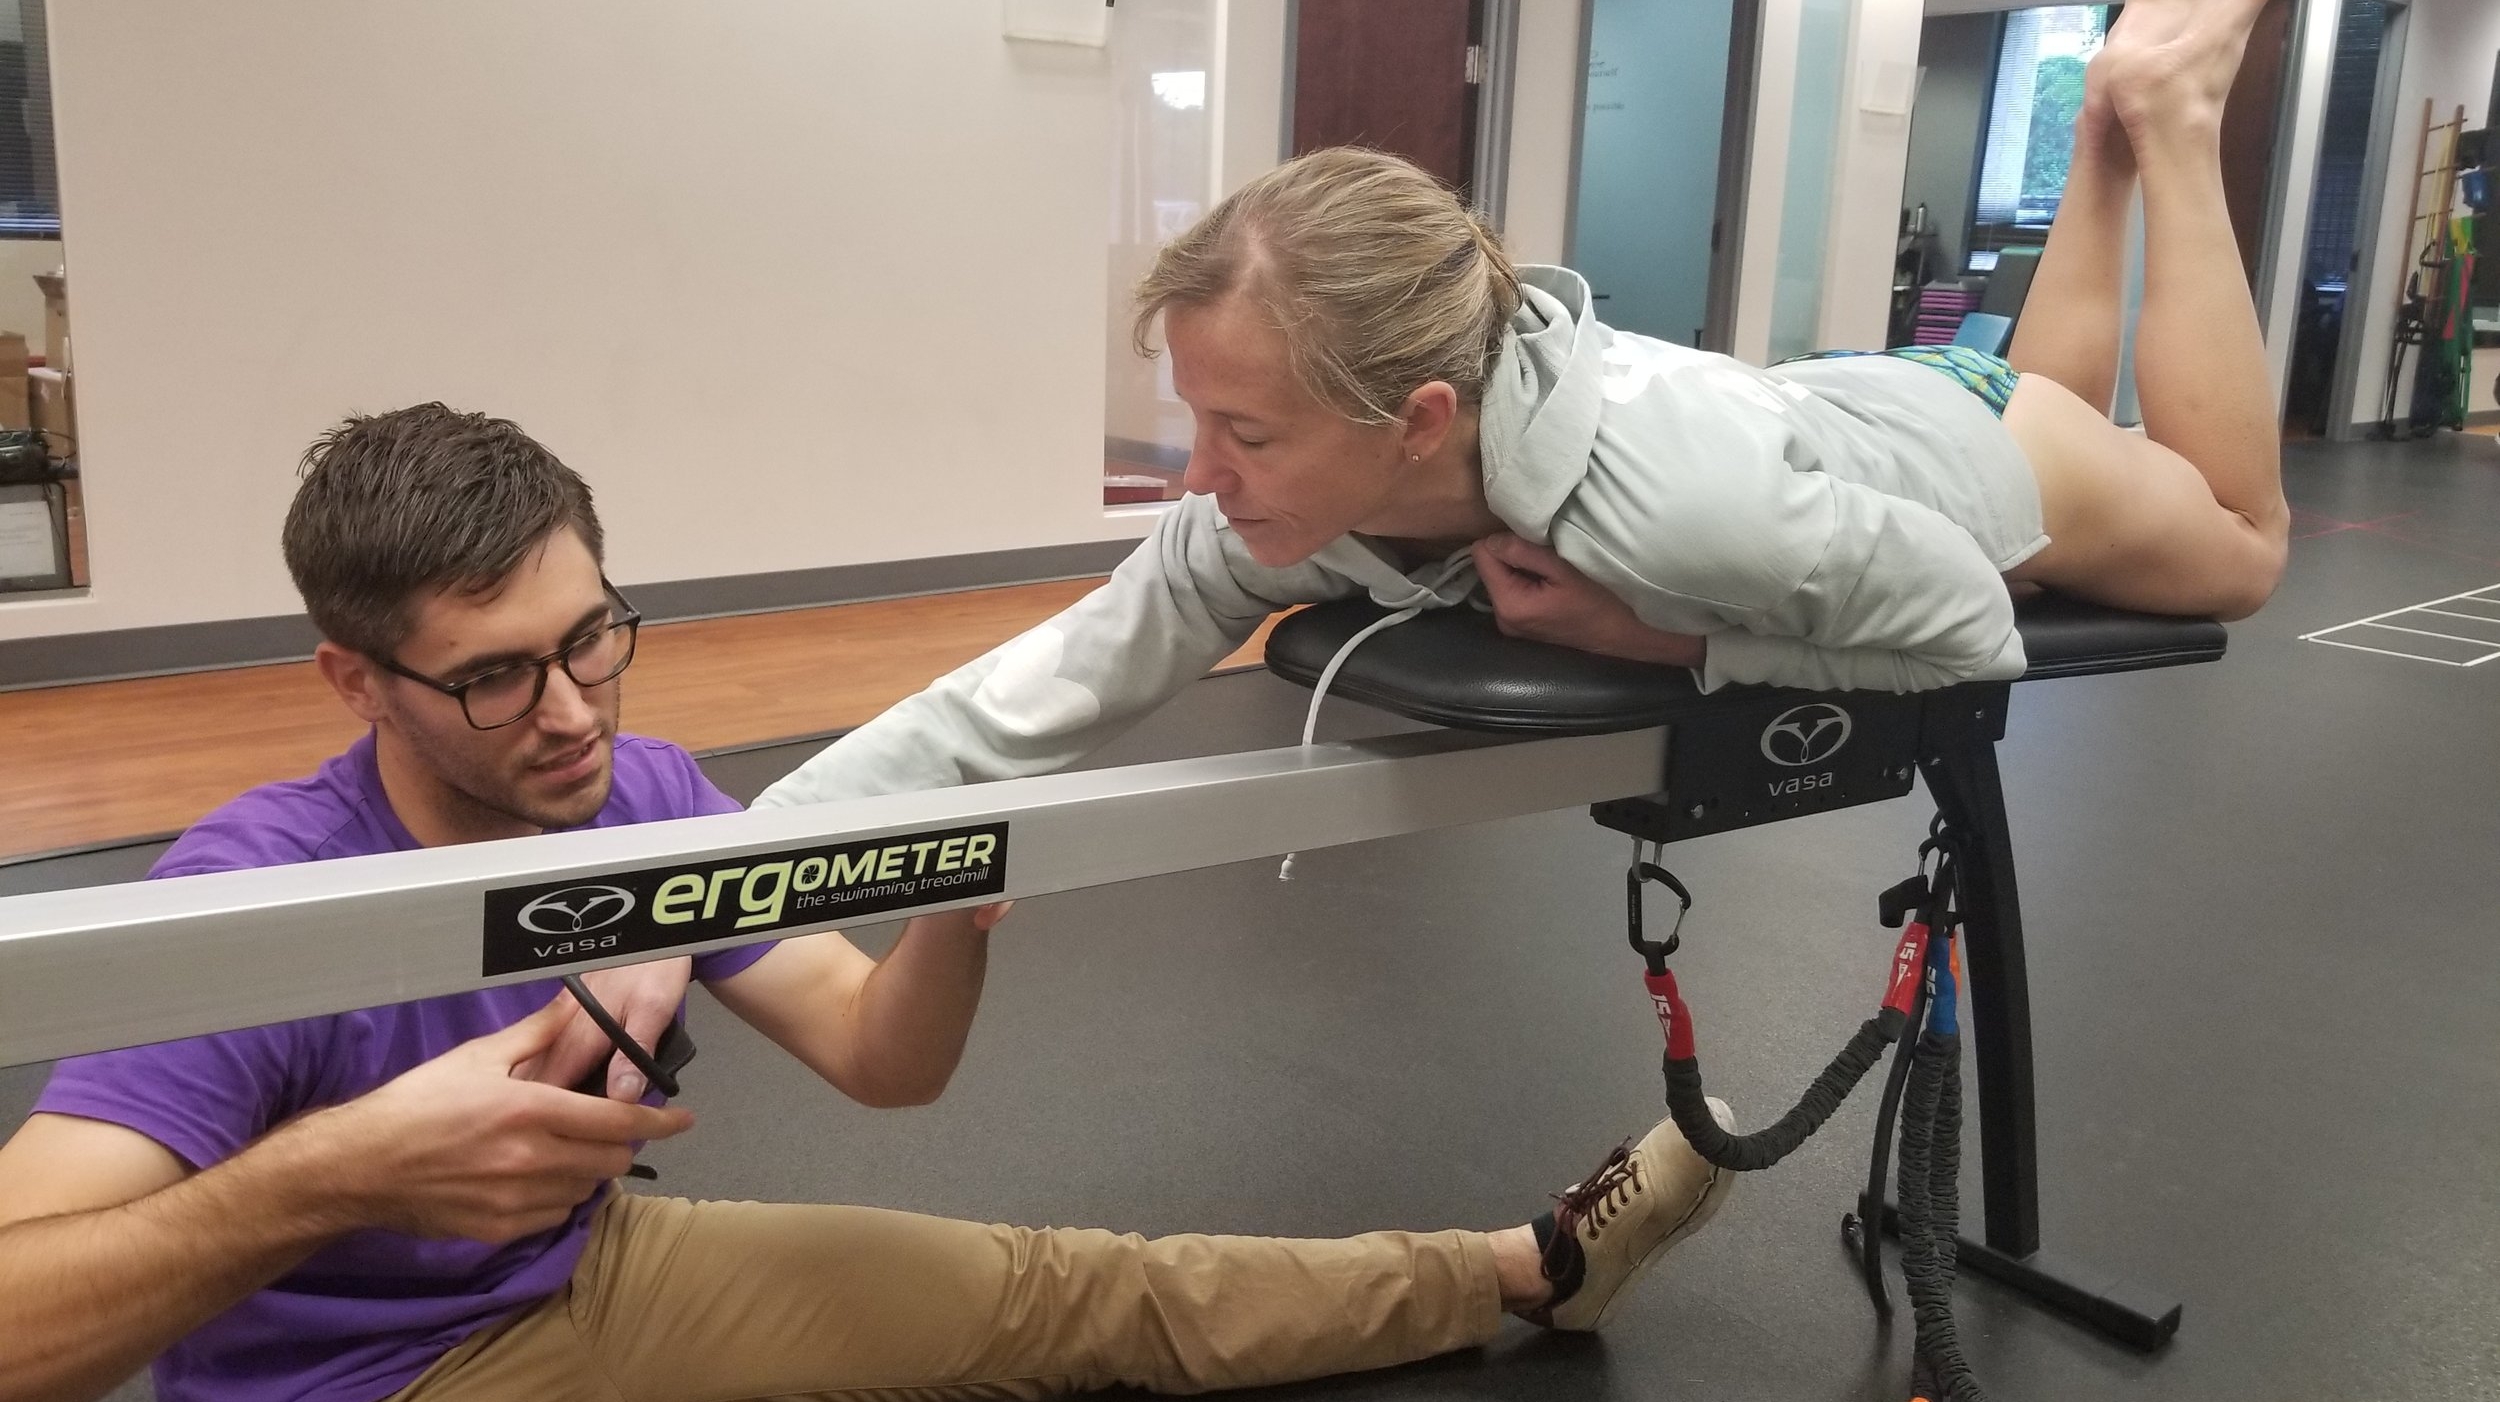
After working in the pool for a bit we moved over to the Vasa Trainer SwimErg (for the first time with Flaca!) to have an in depth look at her catch and pull. Being able to work with clients and actually move them into the proper position is one of our favorite things about the SwimErg. There's nothing else out there that lets us do this while at the same time being able to mimic the resistance of the water. This week Dan worked with her on using her elbow to bring her arm forward and keeping her elbow from dropping.
When your hand enters the water you want to make sure your elbow is the driving force that has moved your arm forward to get to that position. By keeping your elbow up and not letting it drop (which is the natural movement your body wants to make) your hand will be setup to enter the water in proper catch position. This will prevent you from having your hand enter the water, and THEN move it into proper catch position. Swimming is a sport of centimeters, and every tenth of a second counts, so setting this up properly adds up to quite a bit of time that you would have wasted otherwise.
A very important thing to be mindful of when focusing on not letting your elbow drop is that you don't start to make these movements with your shoulder joint. As you move from your catch into your pull and the finish of your stroke make sure your shoulder blade is sliding downward towards your heels. This will ensure you're utilizing your back muscles instead of your shoulder joint, which prevents injury as well as gives you a greater power in the water.
Week 2 is in the books and we've already made a ton of progress! Katie Gage came in for her second lesson and focused on rotation, and we had Flaca Guerrero jump in the pool for the first time and begin her work on her head/body position. Flaca wasn't able to get on the Vasa Trainer just yet, as we need to fix a few foundational things first, but we'll get there soon.
What would you say if I told you Katie didn't rotate before her lesson this week. Crazy, right? It's actually a lot more common than you'd think, because rotation can get a bad reputation. The key is to not over-rotate. For a swimmer who uses a relaxed recovery, the sweet spot is to have a 45 degree rotation. This amount of rotation allows the mobility to take a proper full stroke (catch, pull, finish, recovery), as well as a proper breath. Swimmers that use a straight arm recovery can get away with less rotation, but probably no less than 35 degrees. And as you become a better/stronger swimmer you can comfortably alternate between both types of swimming depending on the situation.
In Katie's case her lack of rotation was causing an improper catch position. Because of this improper position she was not able to develop and maintain a paddle with her hand/forearm to propel her through the water. To have a proper catch, and in turn create a strong paddle, you want to start your rotation as soon as you start your catch.
Back to the SwimErg! After focusing on rotation and the proper timing we hopped out of the pool to do some catch position exercises. One of our favorite things about the Vasa Trainer SwimErg is that we can focus on small movements without making you do the entire stroke. This makes it easier for your brain to understand the change you're trying to make and allows you to make changes faster than you would be able to otherwise. It's the same concept we use when we work on something in the pool and have our clients use a snorkel, because it takes the breath out of the equation and allows you to focus on the task at hand that much better.
For Flaca's first lesson we had her get in the pool and see her stroke for the first time. This allows us to see the pros and cons of her stroke and figure out what we need to start working on first. With Flaca, the first things our instructor Dan noticed were her head position, body position, and sinking legs.
By making a small change in Flaca's head position it started to fix her sinking torso and legs, as well as keep her much more streamlined as she moves through the water. Before we put her on the SwimErg it's important to make some foundational changes to her stroke and practice those in the water. Trying to change too many things at once will overload your brain and most likely will result in no change at all. It's very important to us to focus on injury prevention above all else, and making these changes before moving forward will help keep Flaca swimming safely for the rest of her life.
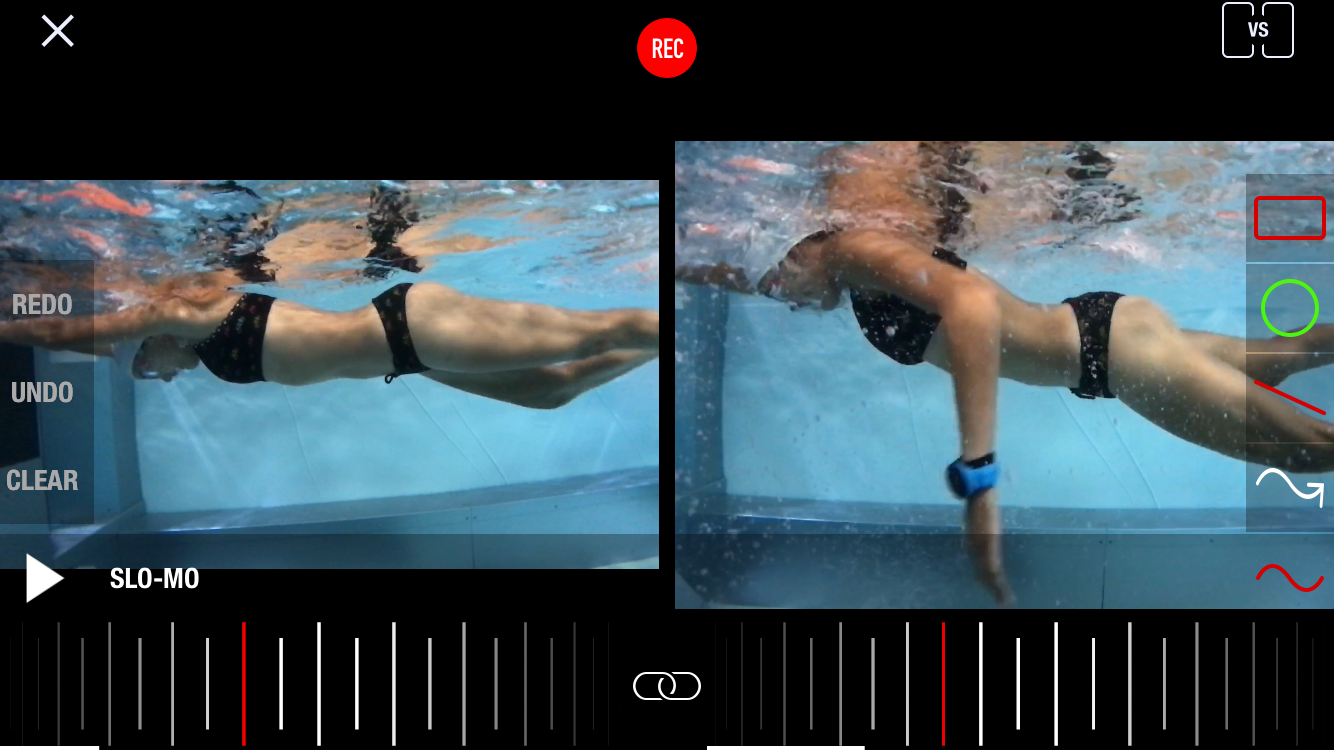
By having Flaca look downward towards the bottom of the pool, as opposed to slightly forward and looking ahead of herself, she's already made huge changes to her body position and sinking legs. Take a look at the picture above! The before shot is on the right and the after shot is on the left. Because this is such an important part of a strong, injury free, and efficient freestyle Dan had Flaca work on this for her entire lesson. Can't wait to put her on the SwimErg next week!