swim tip

Don't Let Your Elbow Drop!

If I were to give you a pop quiz right now and ask where the majority of your power is driven from during freestyle, what would your answer be? For the longest time my response would have been “the kick,” but that answer would have given me a failing grade. Any thoughts? Ideas? Guesses? Well the correct answer we’re looking for is “the catch and pull.” If that’s what you were thinking woot woot! Give yourself a high five and a pat on the back for me. While you’re at it, maybe grab a cookie or two as well, you earned them. Hopefully this helps you understand why soooo so many of my posts are about proper catch, but let’s dig a little deeper while I have your attention.

SwimBox Swimming Lessons SwimBox Thoughts SwimBox Vienna Swim Lessons Fairfax SwimBox Falls Church SwimBox Swimming Lessons Arlington

If the catch and pull are ohh so important, how do we go about making sure they’re done properly and effectively? The biggest key? Keeping your elbow forward and up. That’s it, nice and simple. Okay thanks for checking in everyone, have a great day!

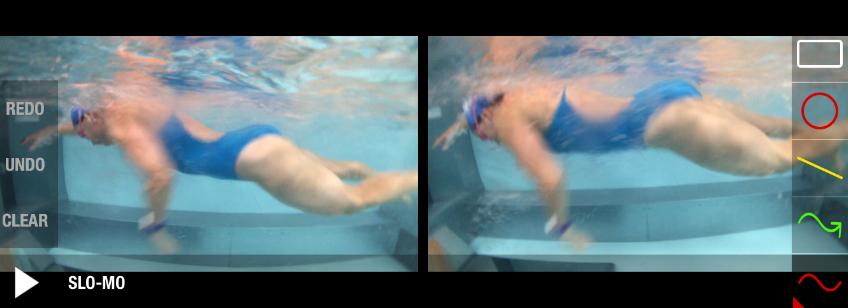
Ha, okay, sorry, sometimes I really think I’m just hysterical. But really, keeping your elbow forward and up, let’s break it down. I like to say forward and up as opposed to just up because that tends to give people the wrong impression. You want your elbow to stay on the same plane as your body during your catch, pull, and recovery. I NEVER want you to lift your elbow upwards during any of these movements. Why? Doing so will actually bring your arm behind your back, prevent your shoulder blade from gliding up and down properly, and put the power into your shoulder joint, eventually leading to injury. So what does a dropped elbow vs a properly forward and up elbow look like? Take a look at the image below. The dropped elbow is on the left, and the correct elbow is on the right.

SwimBox Thoughts SwimBox Swimming Lessons SwimBox Swim Coach Northern Virginia SwimBox Swim Lessons Fairfax SwimBox Dunn Loring Swim Lessons

The dropped elbow on the left is pulling ZERO water as it moves through to the pull phase. Whereas the forward and up elbow on the right has created a paddle from the fingertips to the elbow to push back against the water to propel you forward. This is a great image to show just how little help your pull is giving you when you drop your elbow. No paddle is being created, and almost zero propulsion is gained from swimming this way.

This is where the word “forward” is really helpful. Think of yourself in the pool, swimming nice and easy freestyle. If I were to tell you to swim, but to make sure your elbow being brought forward is what’s going to bring your arm around during your recovery, now you would know what I mean. Having your elbow be the lead for your arms, as opposed to your hands, will help you keep your elbow in the proper position. This also helps you enter the water already set to start your catch, as opposed to having to set it up after your hand enters the water, therefore wasting time and also missing out on making the most of your paddle with your hand and forearm.

SwimBox Swim Coach SwimBox Swimming Lessons Virginia SwimBox Dunn Loring SwimBox Swim Team SwimBox Alexandria

This movement probably sounds pretty simple, but it takes A LOT of practice to get this right. I still have workouts dedicated to just this movement, spending 1-2 hours focusing on how to get this just right. And when I get tired, I tend to go back to my old habits, not good. When you go to work on this start a little at a time to prevent the impending frustration. Just like with all movement corrections in swimming, you have to work on this over and over again before it will start to become a habit. Even when you think you’re doing it all the time, keep practicing! This is the biggest component to having a strong and efficient freestyle, so don’t skip working on this!

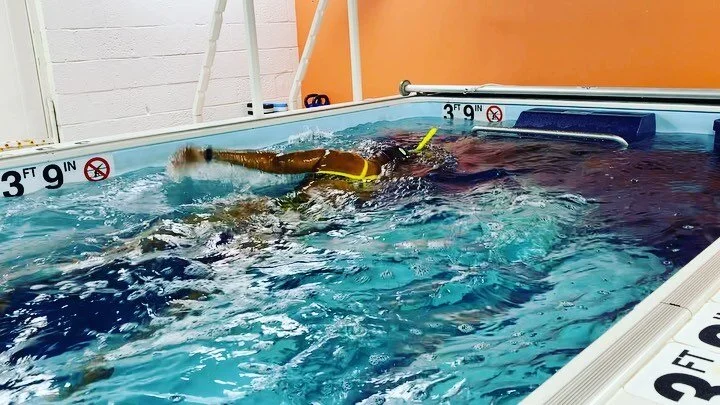
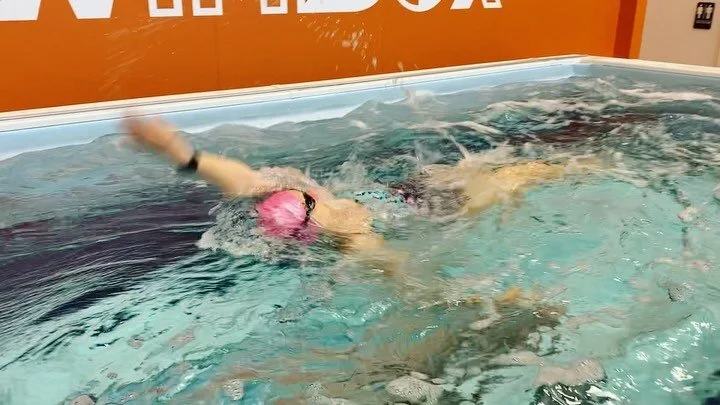
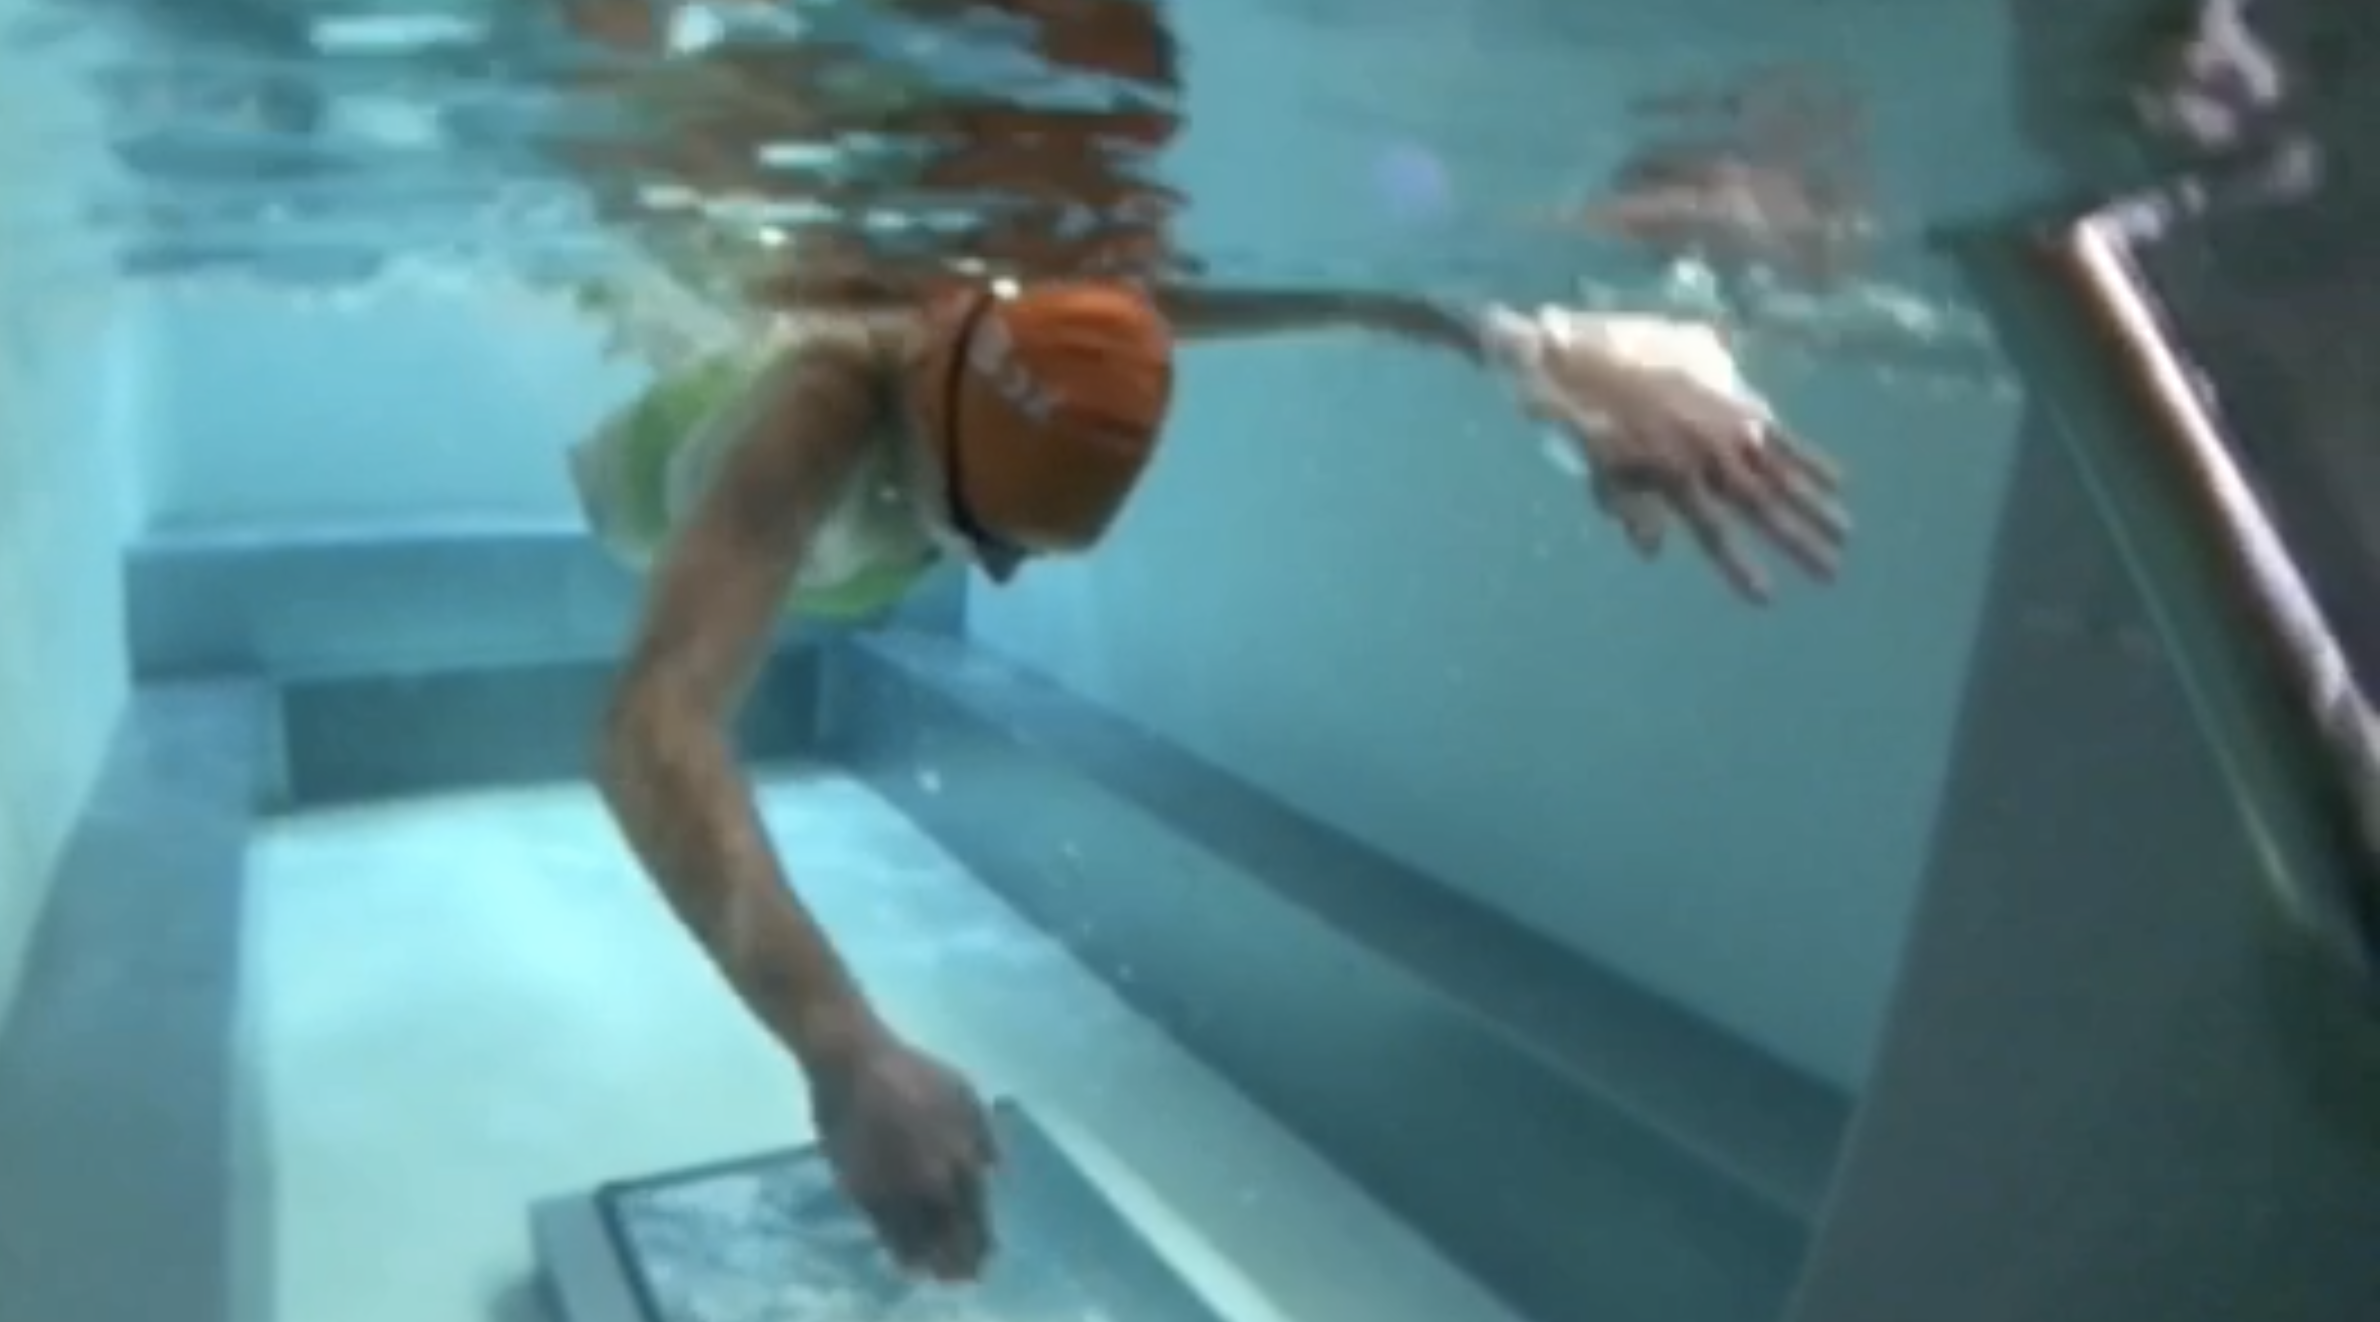
Take a look at our video to see what a dropped elbow vs a forward and up elbow look like in motion!

Why Bananas Don't Belong in the Pool

“Swimming is a sport of centimeters.” This is something my favorite swim coach likes to tell me over and over again, especially when I’m having trouble making a small adjustment to my stroke. This might seem like a depressing thing to focus on, but it’s really not. Think of the Olympics and the famous finish Michael Phelps had when he out-touched Milorad Cavic by only one one-hundredth of a second to win gold. One one-hundredth of a second. It takes ten times that long to blink to put things into perspective.

The small movements you work to correct over and over again, that sometimes make you want to pull your hair out in frustration, are the movements that will put you ahead that one one-hundredth of a second to beat out your competition. And in this case, the movement I want to talk about is keeping your ribs down and closed while you swim. What does that mean? The best way to understand it is to first think of the opposite, what you look like when you swim with your ribs open. Think of when you arch your back, and how it turns your torso into a "U" shape, or - and this one's my favorite - a banana in the water. Swimming like a banana through the water clearly would not be beneficial for your efficiency and power. This body position takes you out of streamline and, unlike a banana, causes your hips and legs to sink downward toward the bottom of the pool. Swimming with your hips and legs not at the surface of the water means you're causing unnecessary drag that you have to fight hard against to propel yourself forward through the water.

SwimBox Swimming Lessons SwimBox Online Course SwimBox Swim Lessons SwimBox Triathlon Swim Team SwimBox Vienna SwimBox Tysons

The position you want needs to be driven from your ribs, and is, in actuality, a very small movement. When people tell you to arch your back most people create an extreme exaggeration, forming that “U” shape with their bodies. Here, you want a slight crunch inwards, driven from your ribs, which will result in a flat back. Think of it like the position you make when you exhale. When you blow your air out, your ribs go down and move inwards. Not the exact opposite of an arched back, you don’t want a hunchback either. You want to straighten our your back with this downward movement of your ribs in order to prevent swimming like a banana.

SwimBox Swimming Lessons Falls Church SwimBox Swim Coach SwimBox Swim Lessons SwimBox Swim Team SwimBox Fairfax SwimBox Arlington

What does this position do? It brings your hips and legs up to the surface of the water, AND helps to tilt your head into proper position at the same time. Try both of these movements standing up on land before trying them out in the pool. In the beginning, make them as exaggerated as you can. To make your banana, take in a really big breath and hold it. Now watch as your body turns into that “U” shape/banana. To feel the opposite, the position we’re looking for, exhale that really big breath and you’ll feel your body straighten back out, as well as the weight of your body falling back onto your heels. This will show you the extreme differences and help you find what we’re looking for in the water.

I know this probably sounds weird, but this minor change to your posture is one of the centimeters that’s going to help you get that much closer to your goal times. It’s going to improve your streamline, power, and efficiency by allowing you to move through the water with less effort and more smoothly than before. If you want to work on this more intensely make sure to take a look at our Foundational Breathing Method online course!